Homemade Wood Burning Pizza Oven
2020-2021
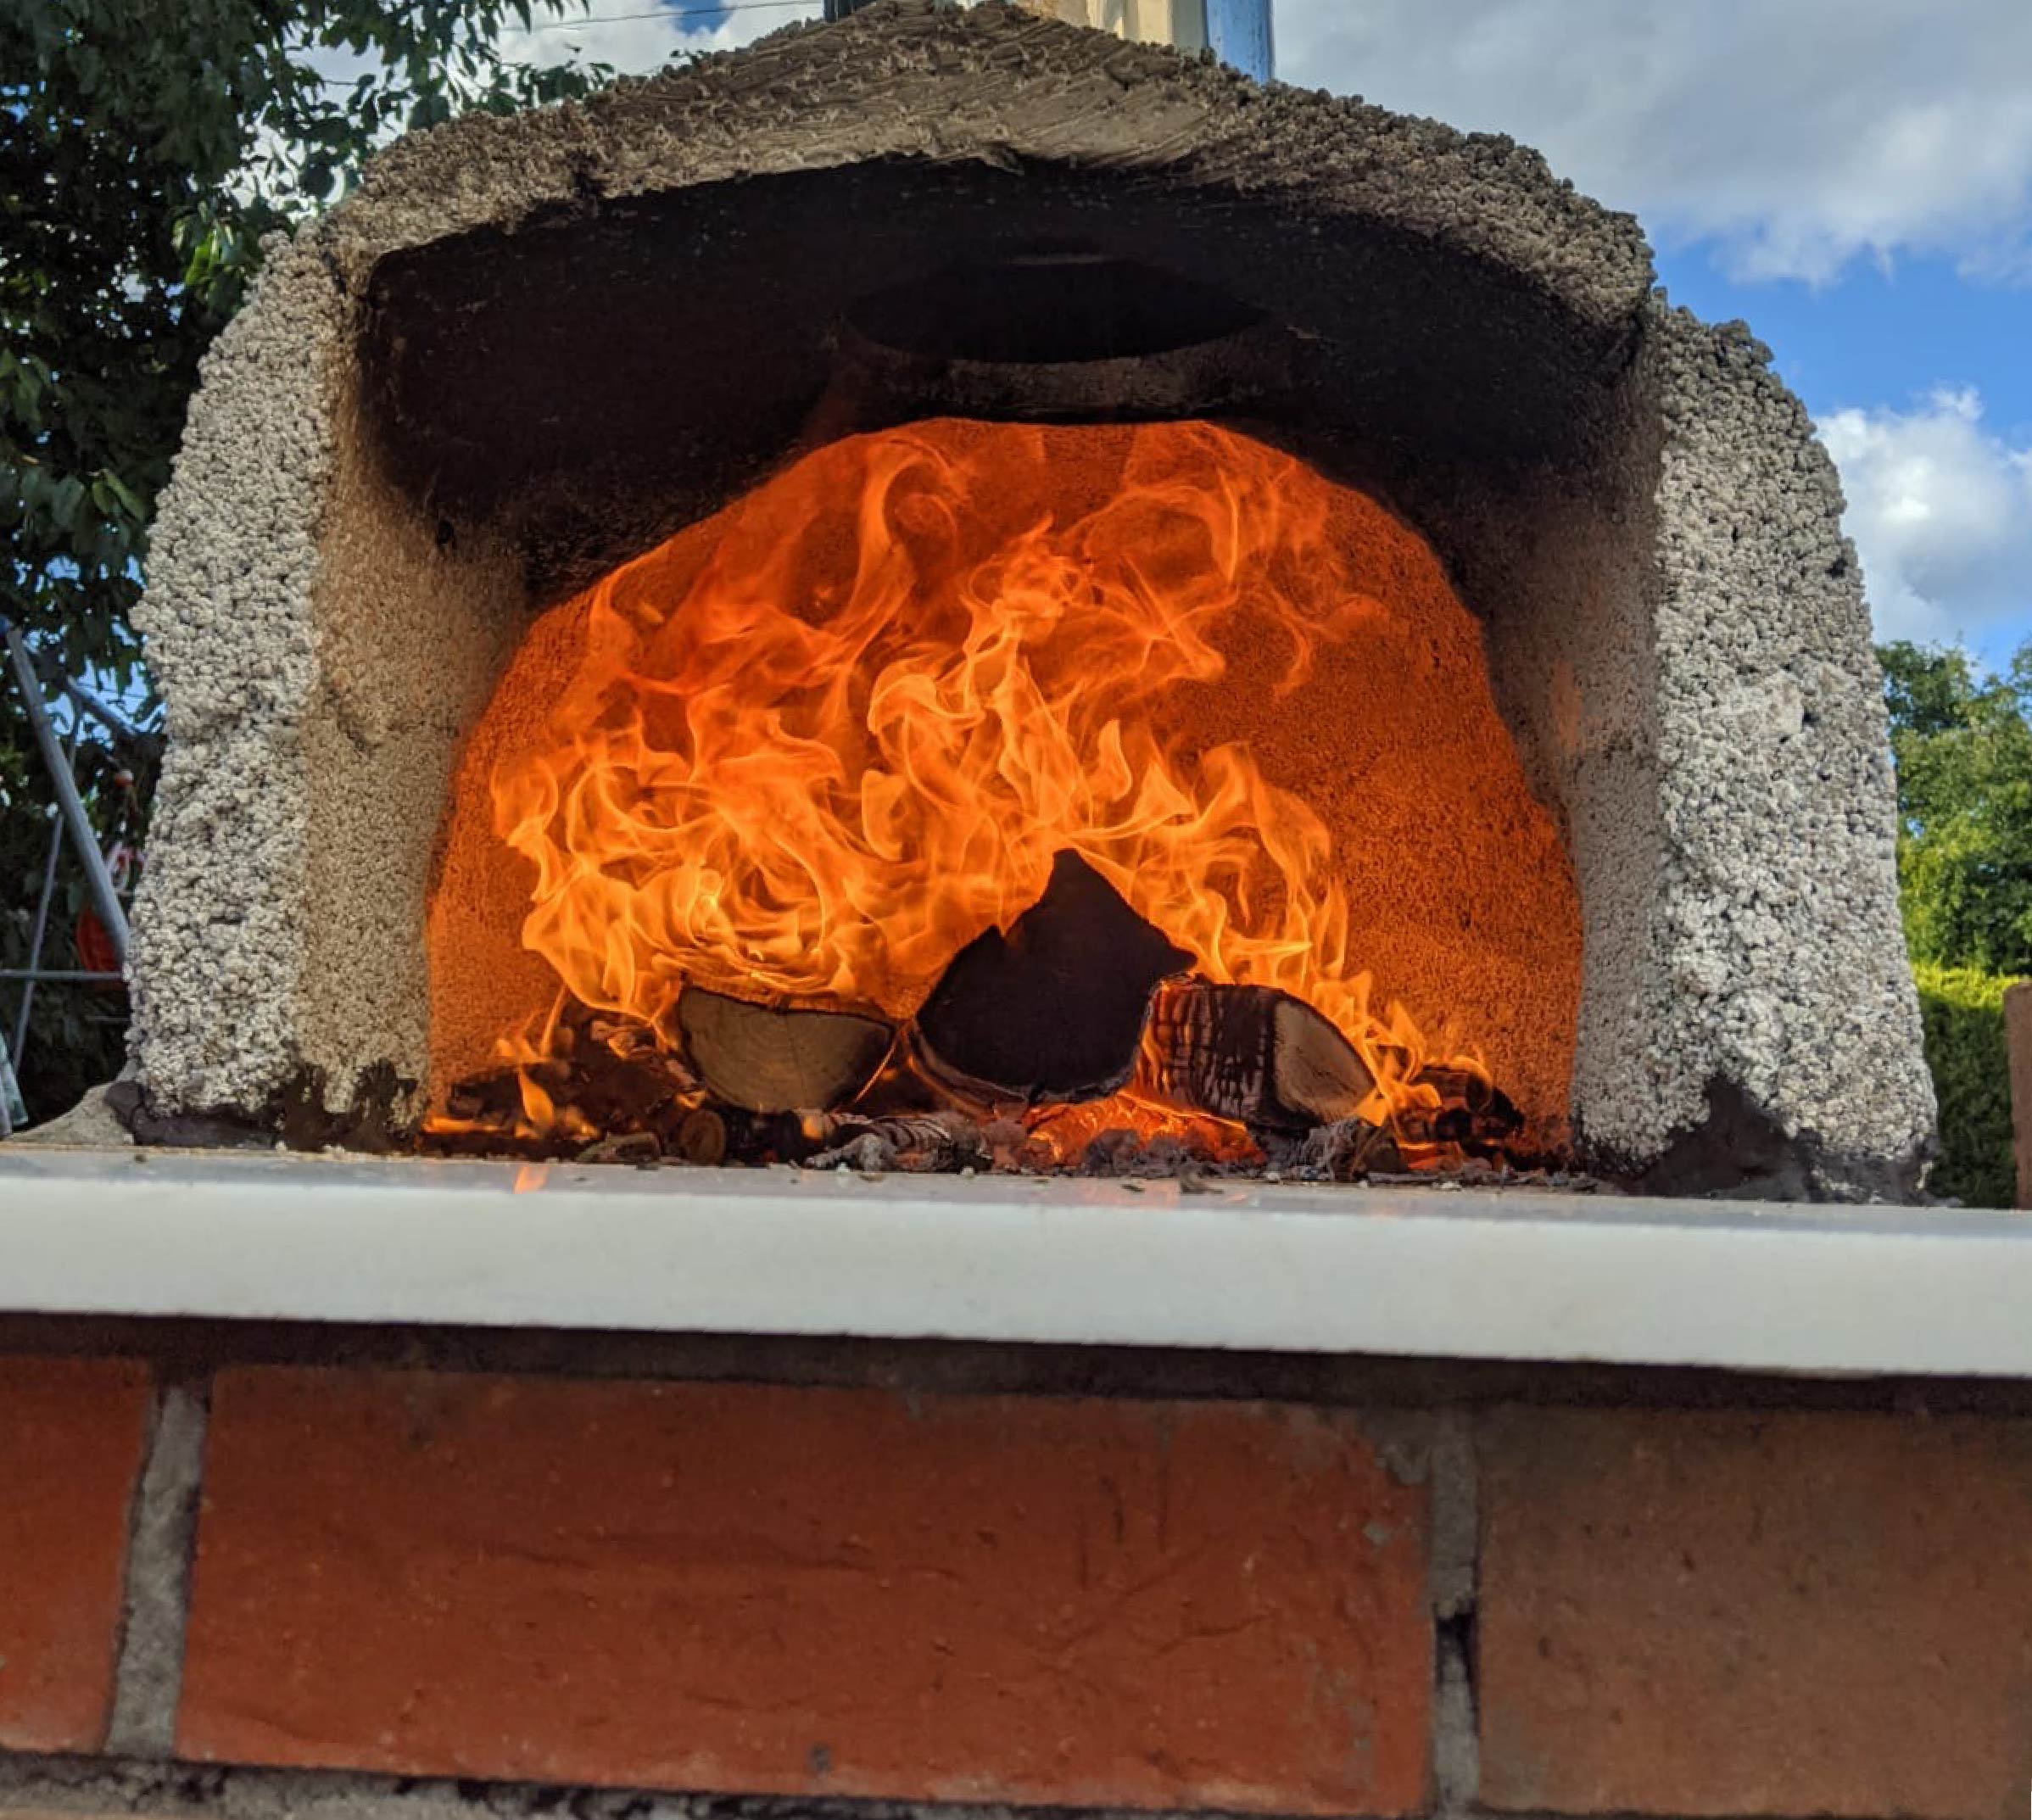
Designed and built a wood burning outdoor pizza oven with an adjoining concrete prep table.
Main Roles
Head Chef
What I did
- Structural Design.
- Heat Transfer Analysis.
- Construction.
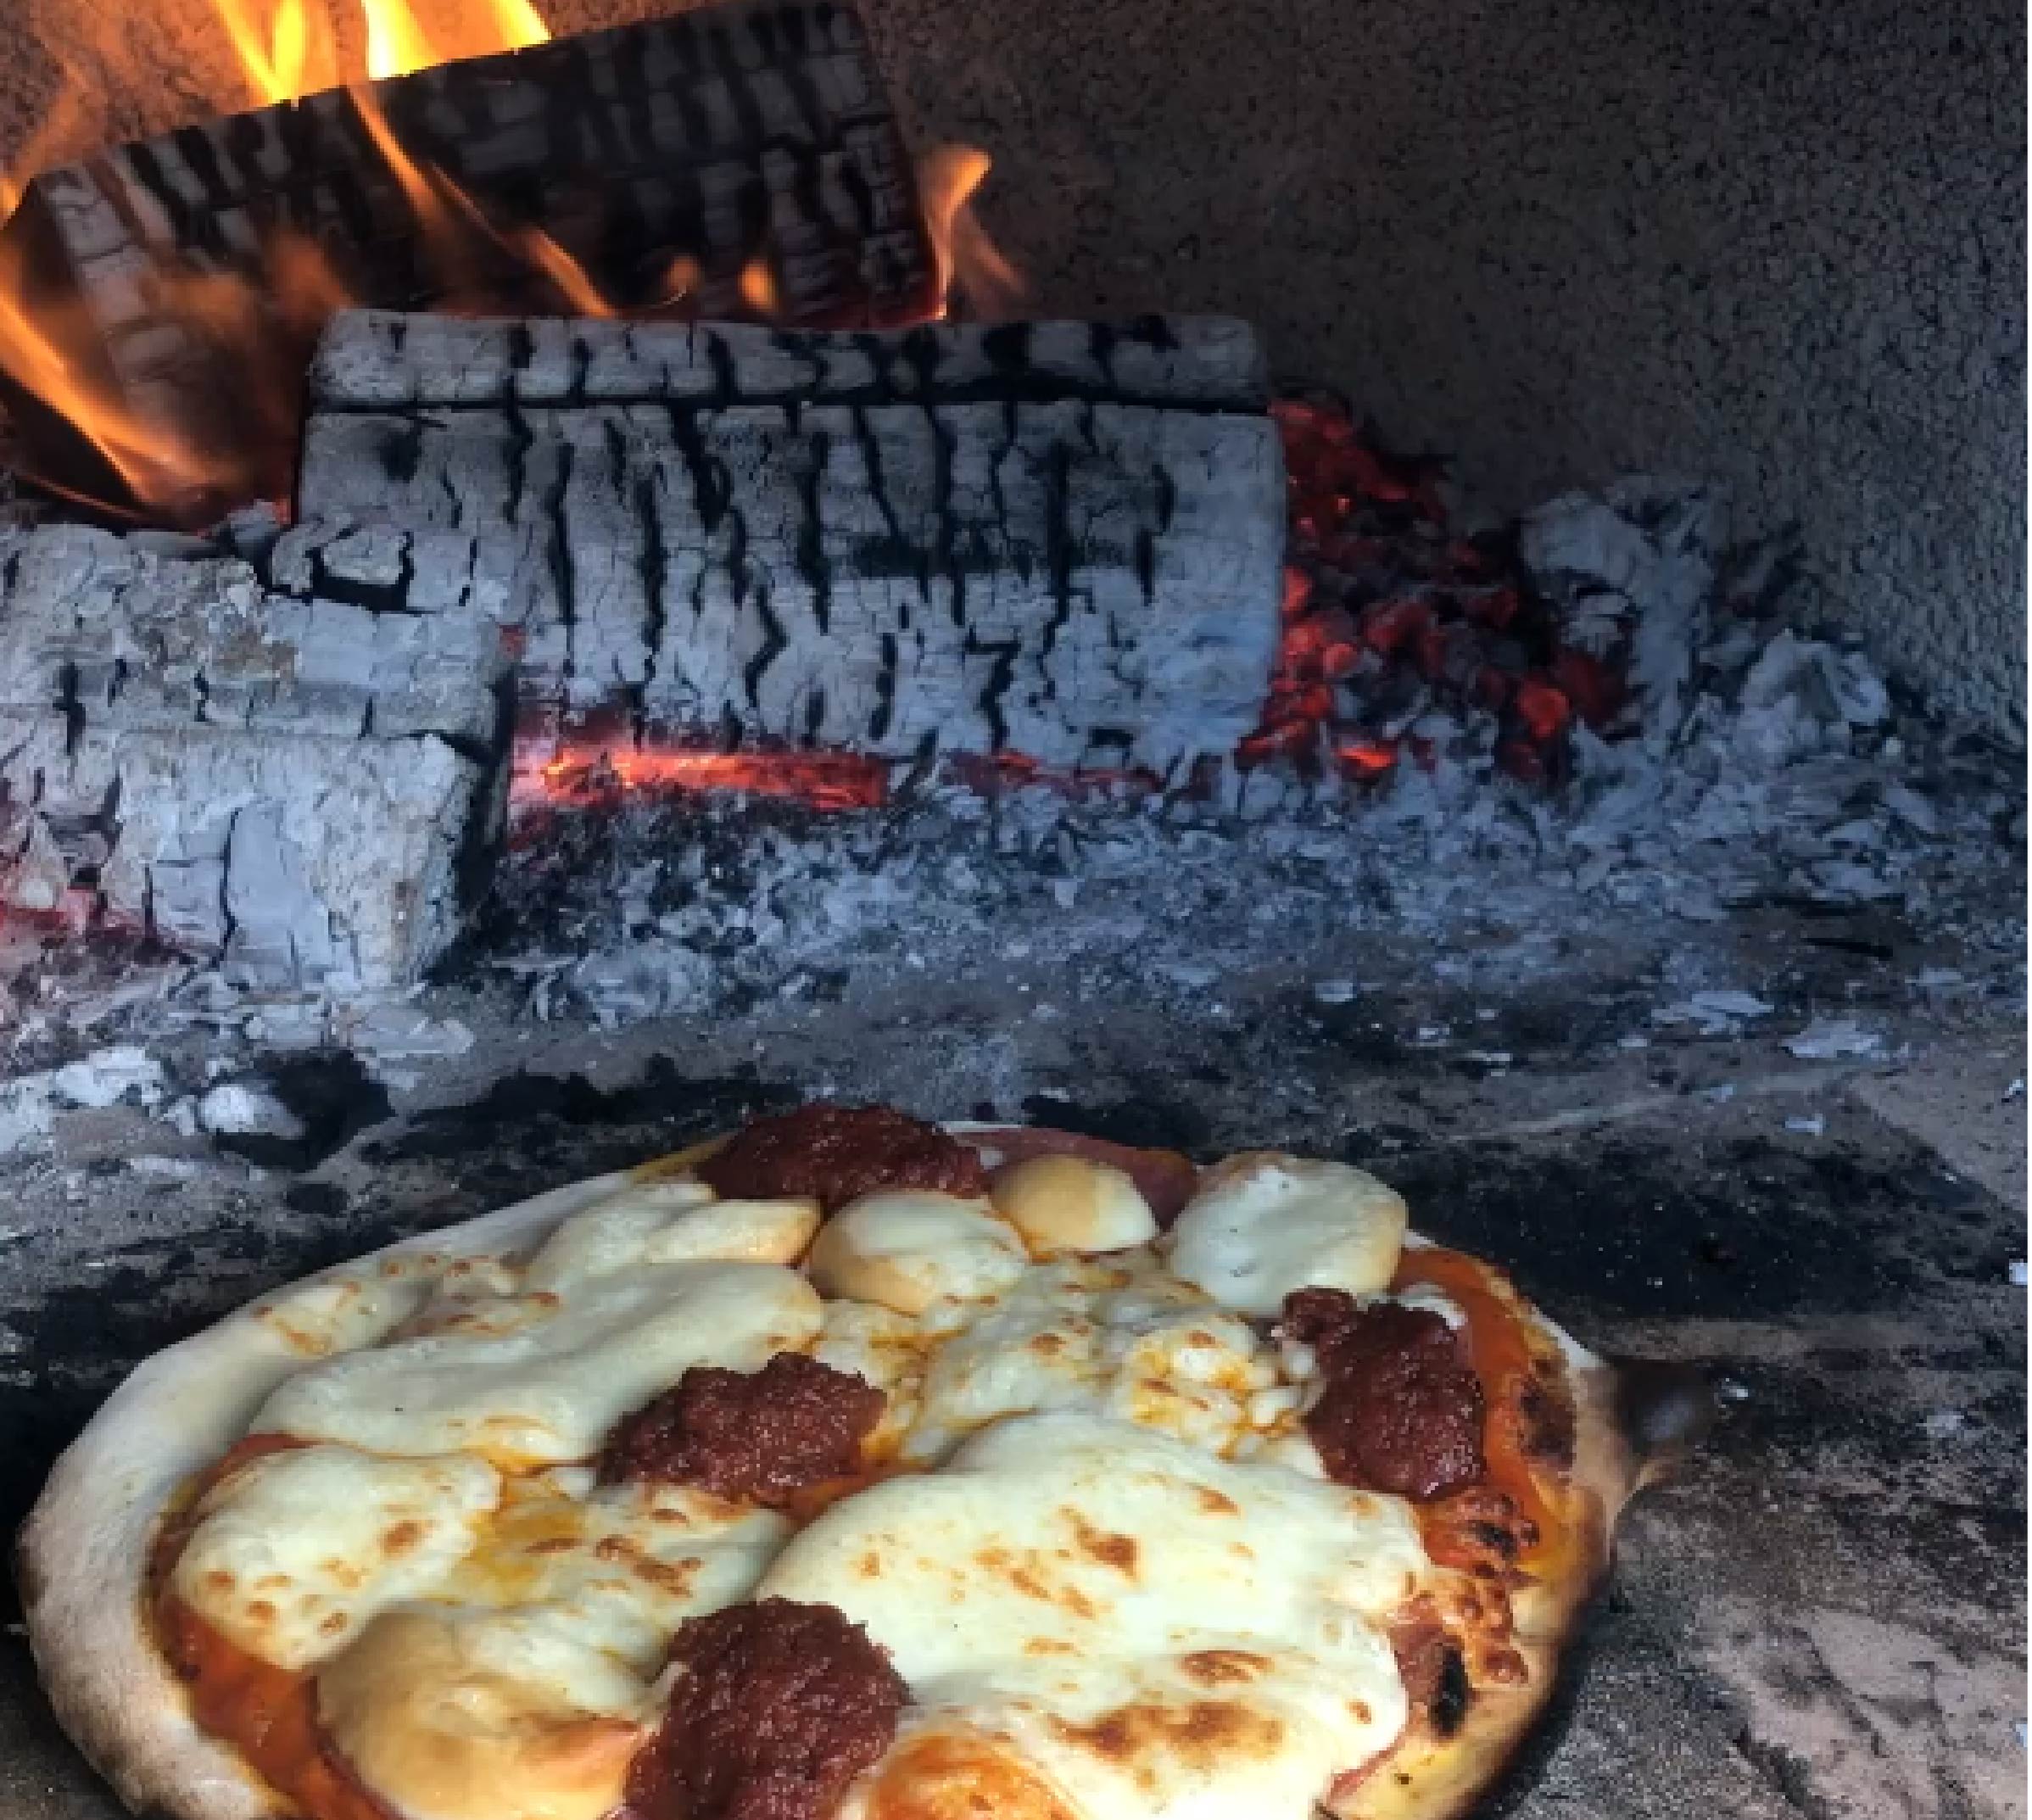
- Cooking Some Pizzas.
Structural Design.
Wall sizing, concrete reinforcement.
I performed structural calculations to ensure that the brick walls could hold up the concrete countertops and oven dome. I calculated the amount/layout of the rebar reinforcement needed in the countertops to ensure that they did not crack under their own weight.
Heat Transfer Analysis.
Heat sink design, Dome wall thickness.
I designed and sized the main heat sink for under the oven. This was essential to ensure that the concrete slab under the dome did not crack during use. Heat transfer calculations were also performed to determine the thickness of the oven dome walls and height of the chimney to ensure that the oven could operate efficiently
Design Development
Step 1 : Foundations
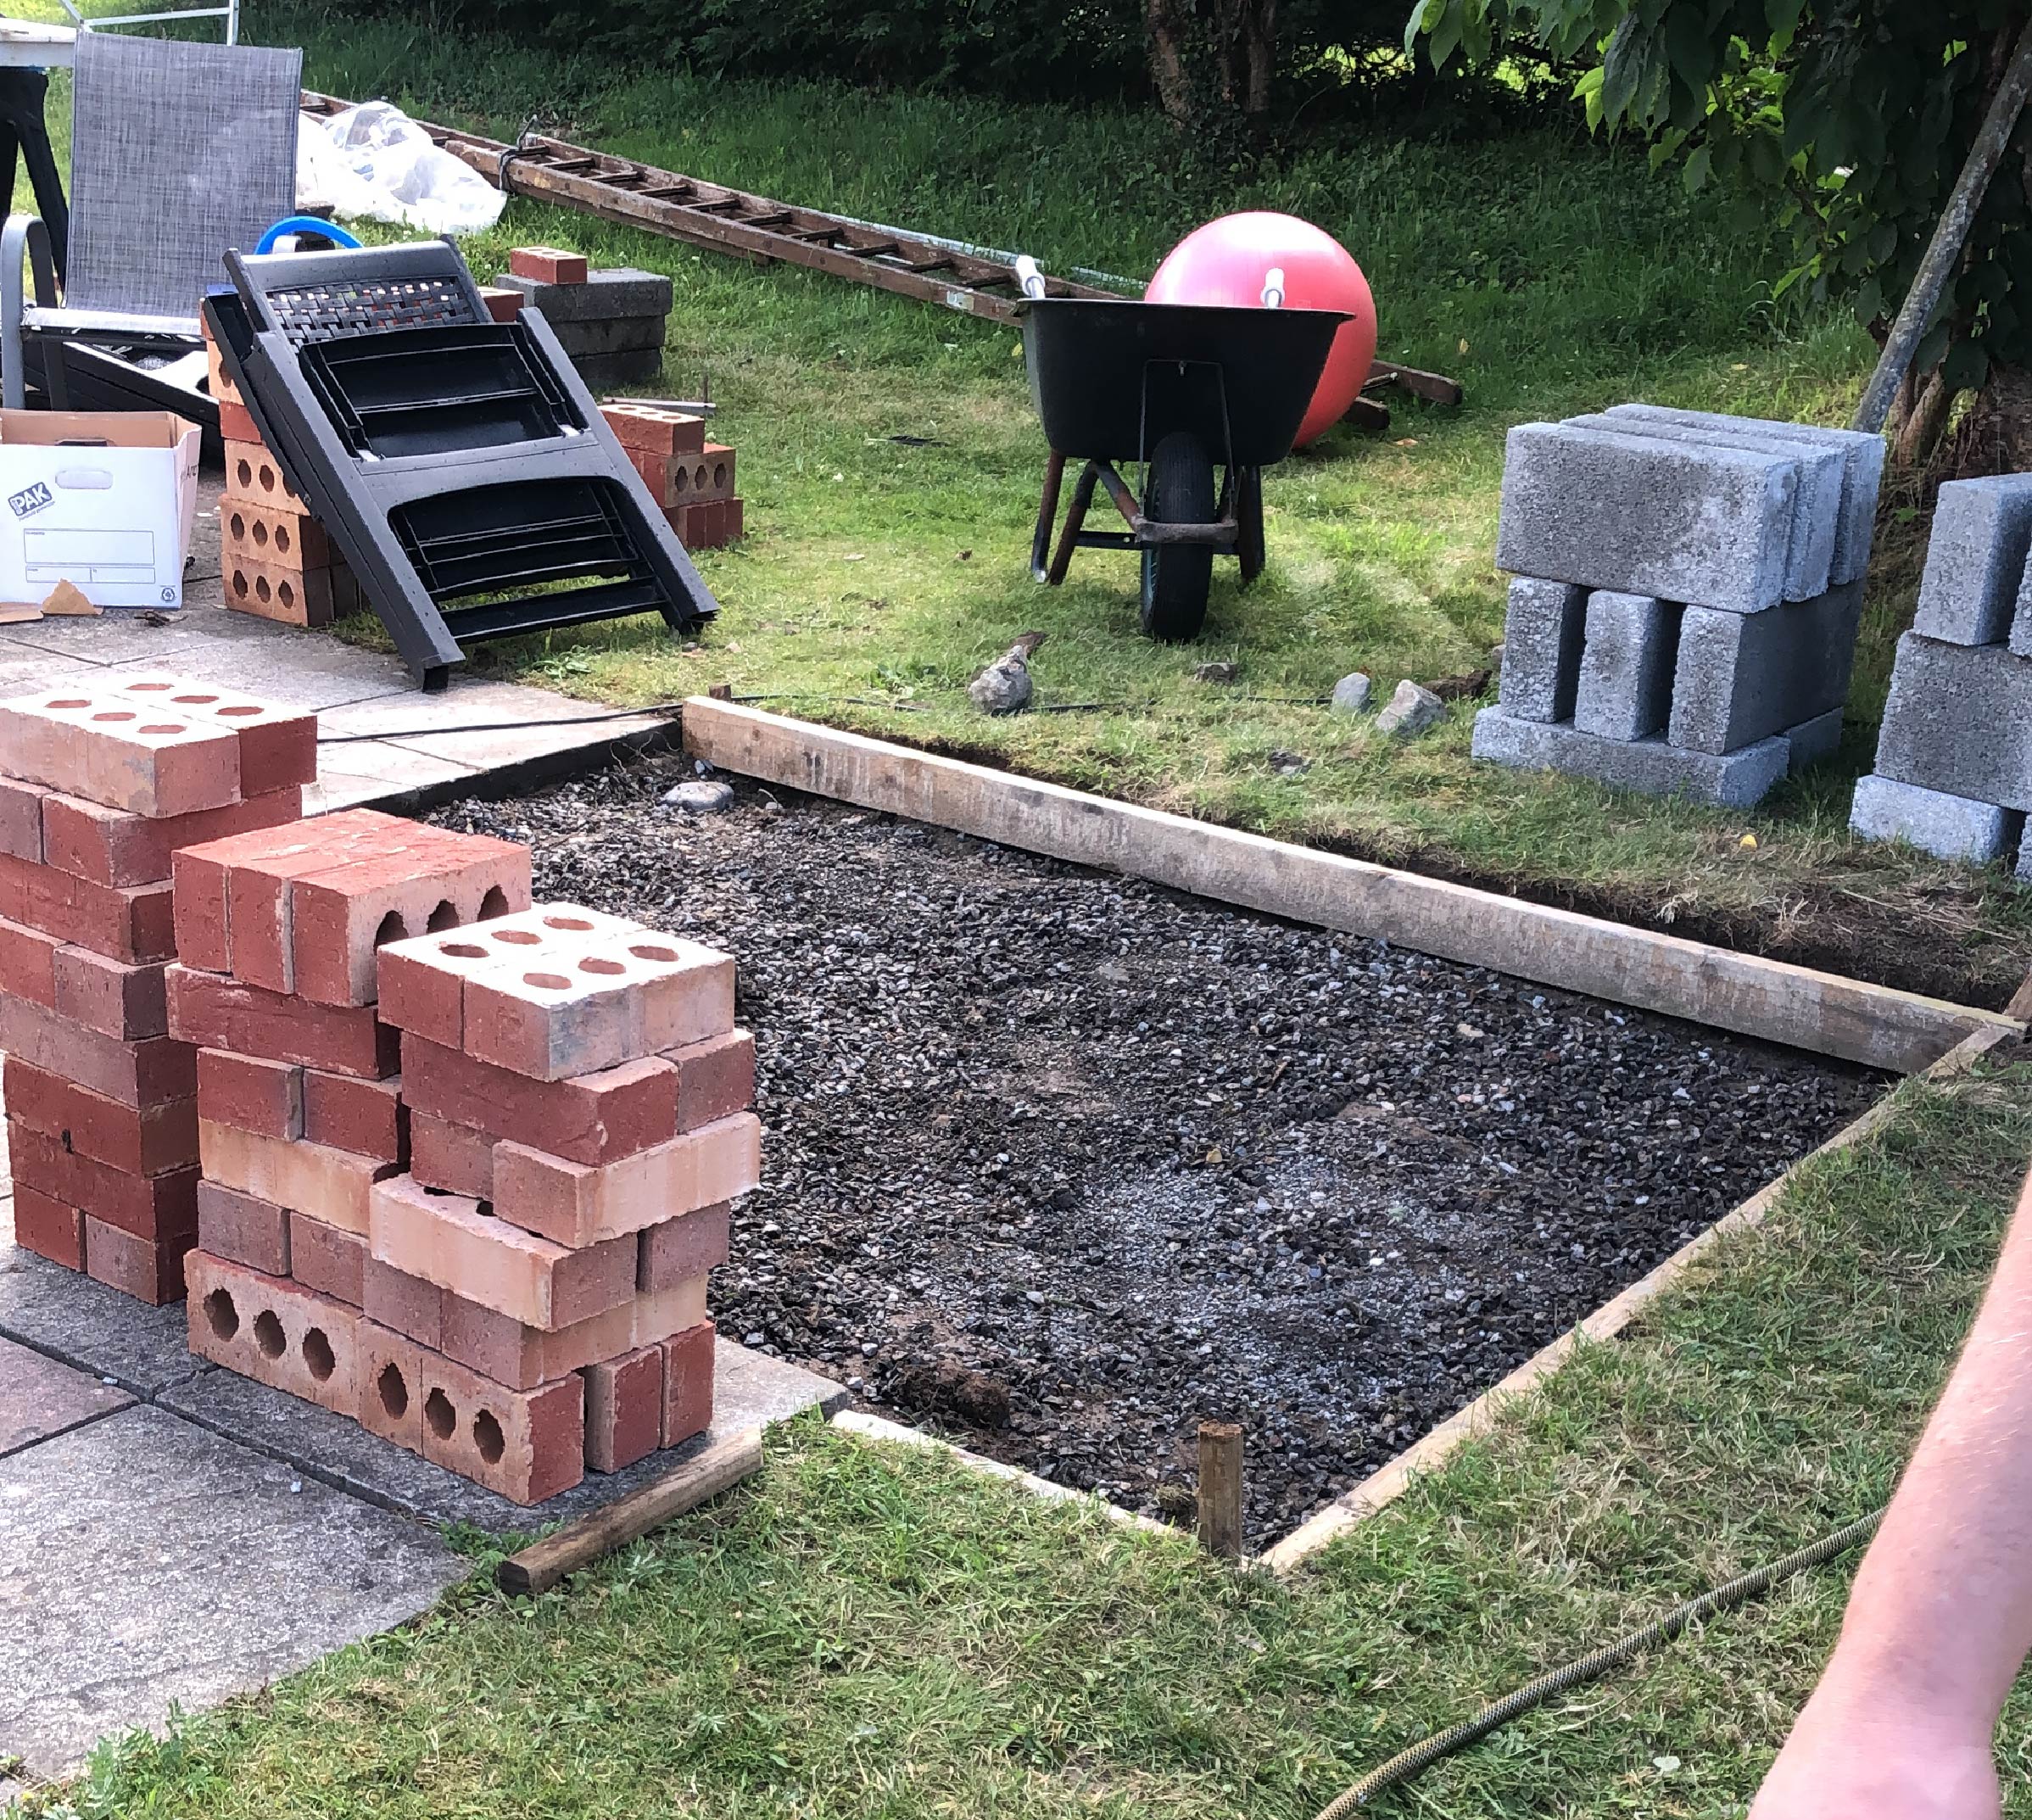
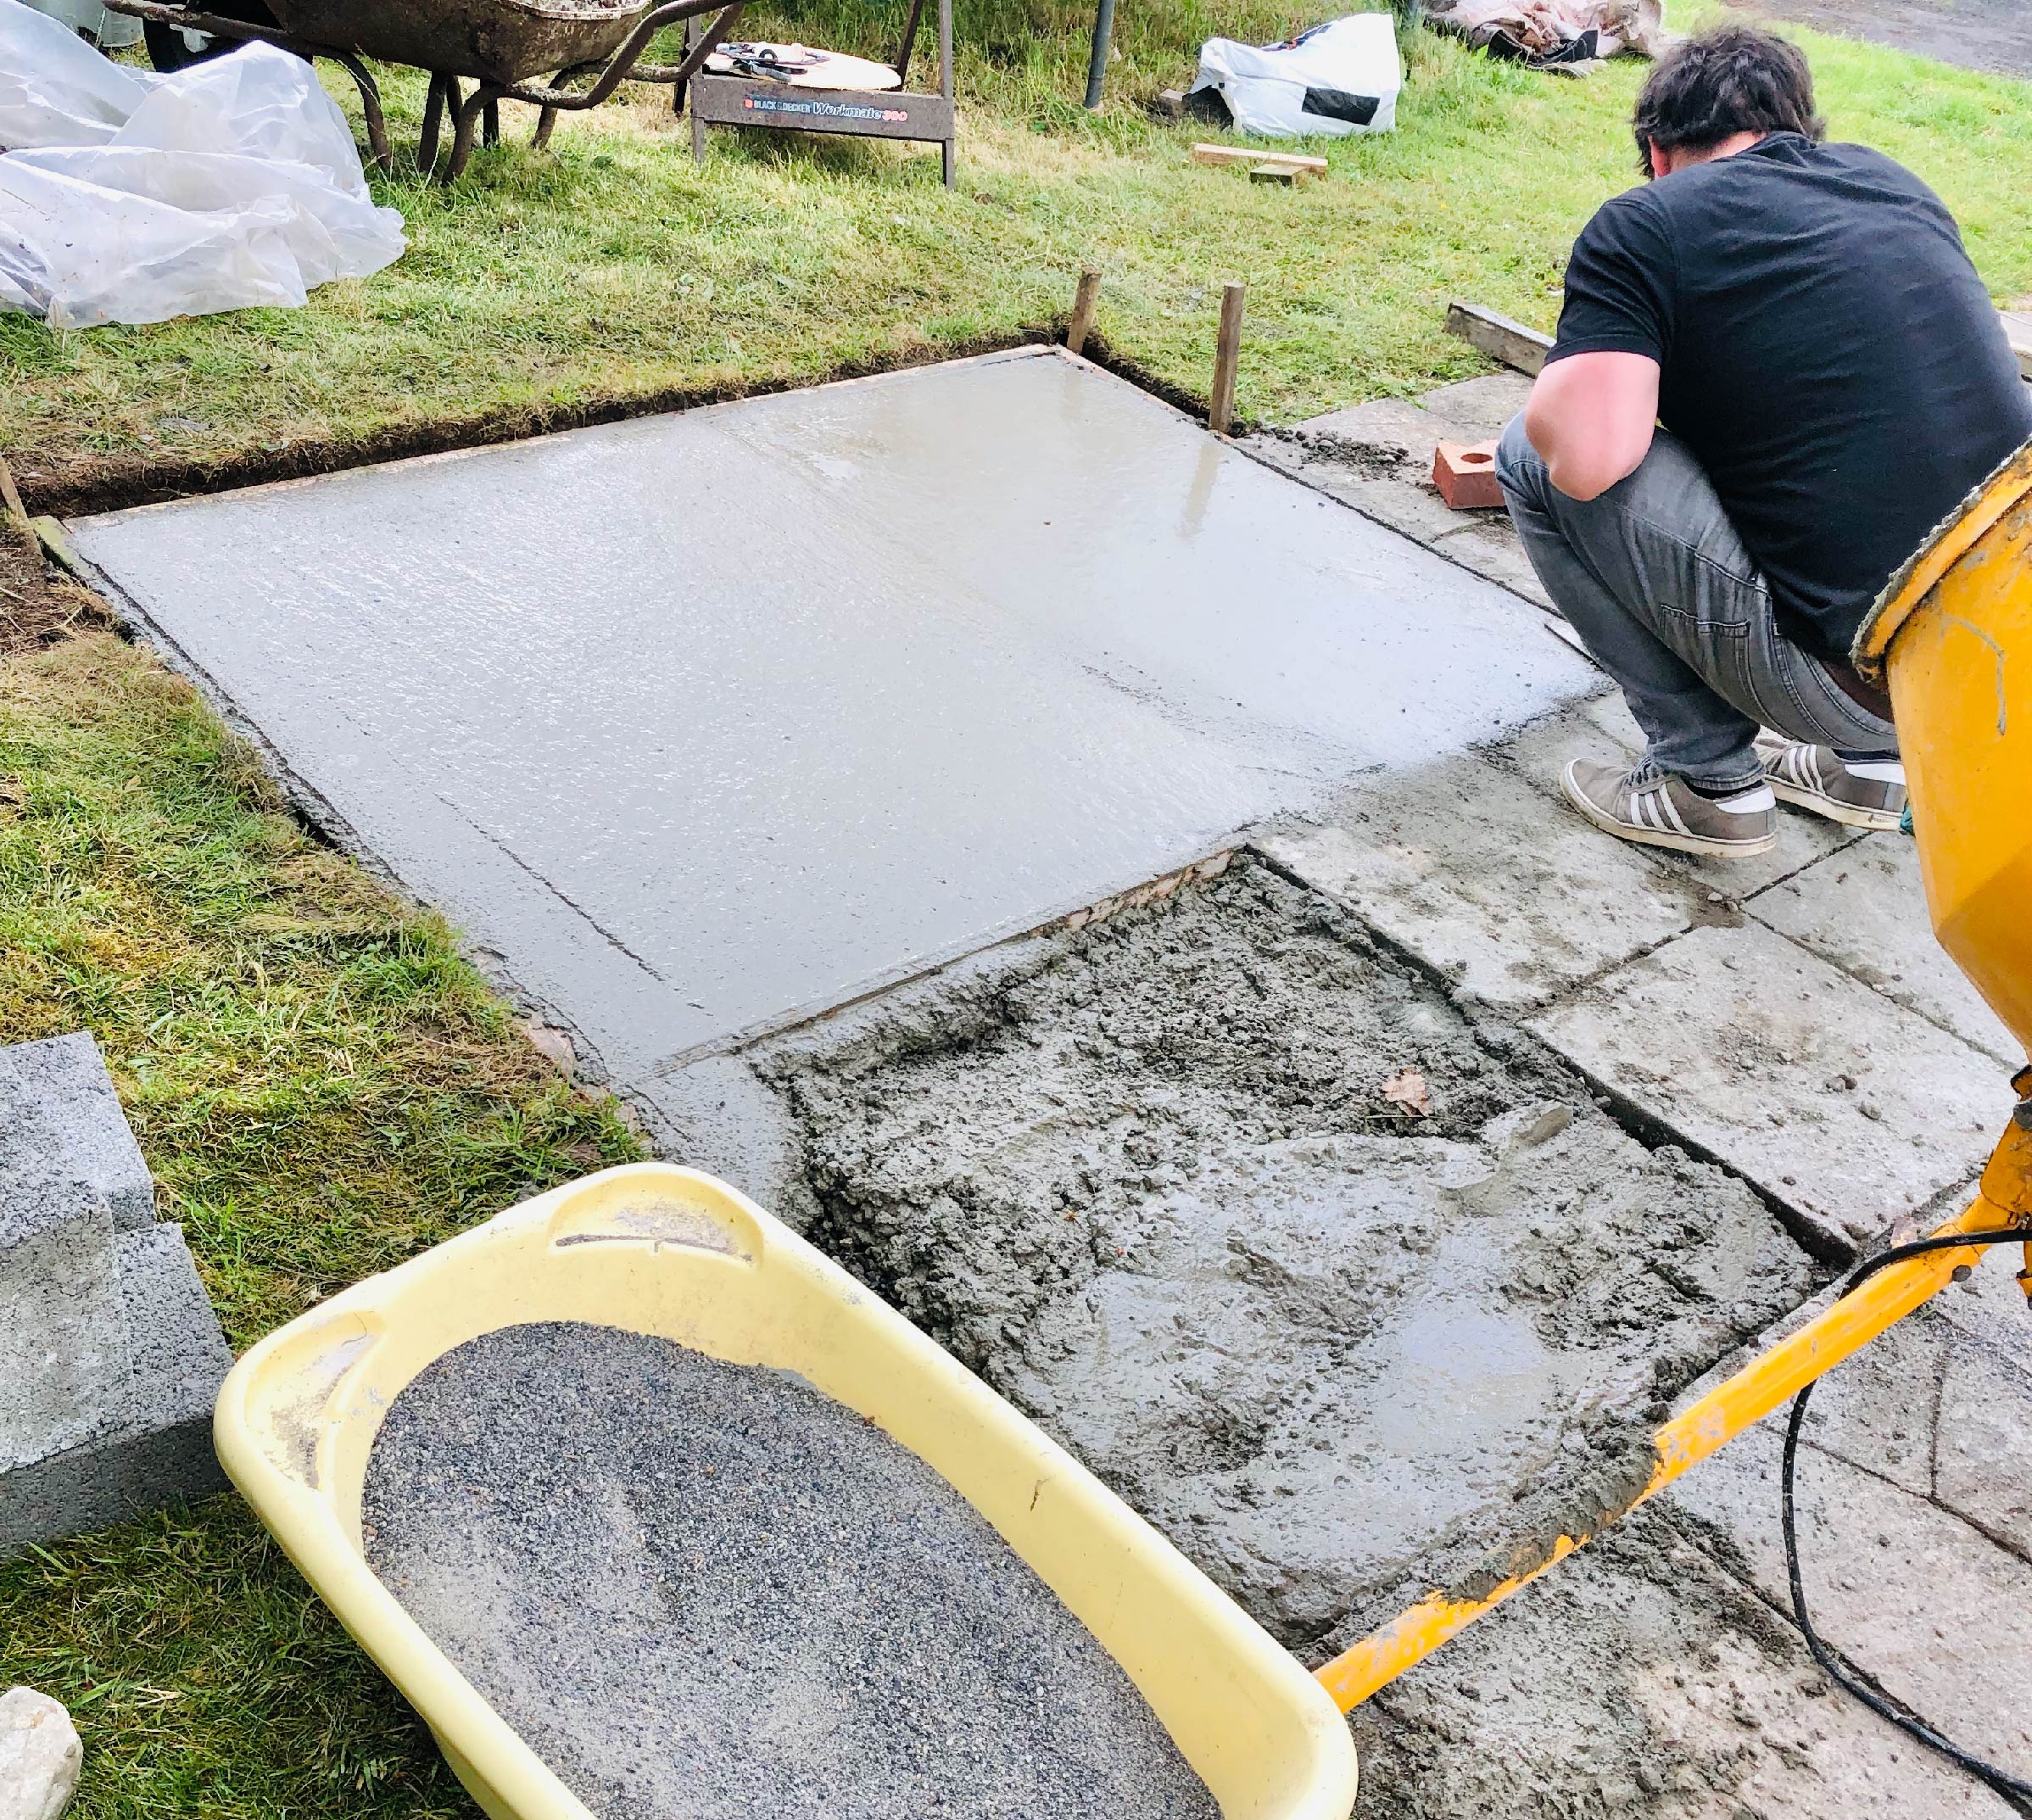
The site for the oven was picked and the foundations were dug. Once the area was levelled a wooden barrier was set along the edges of the site and the concrete was poured.
Step 2 : Brick Laying
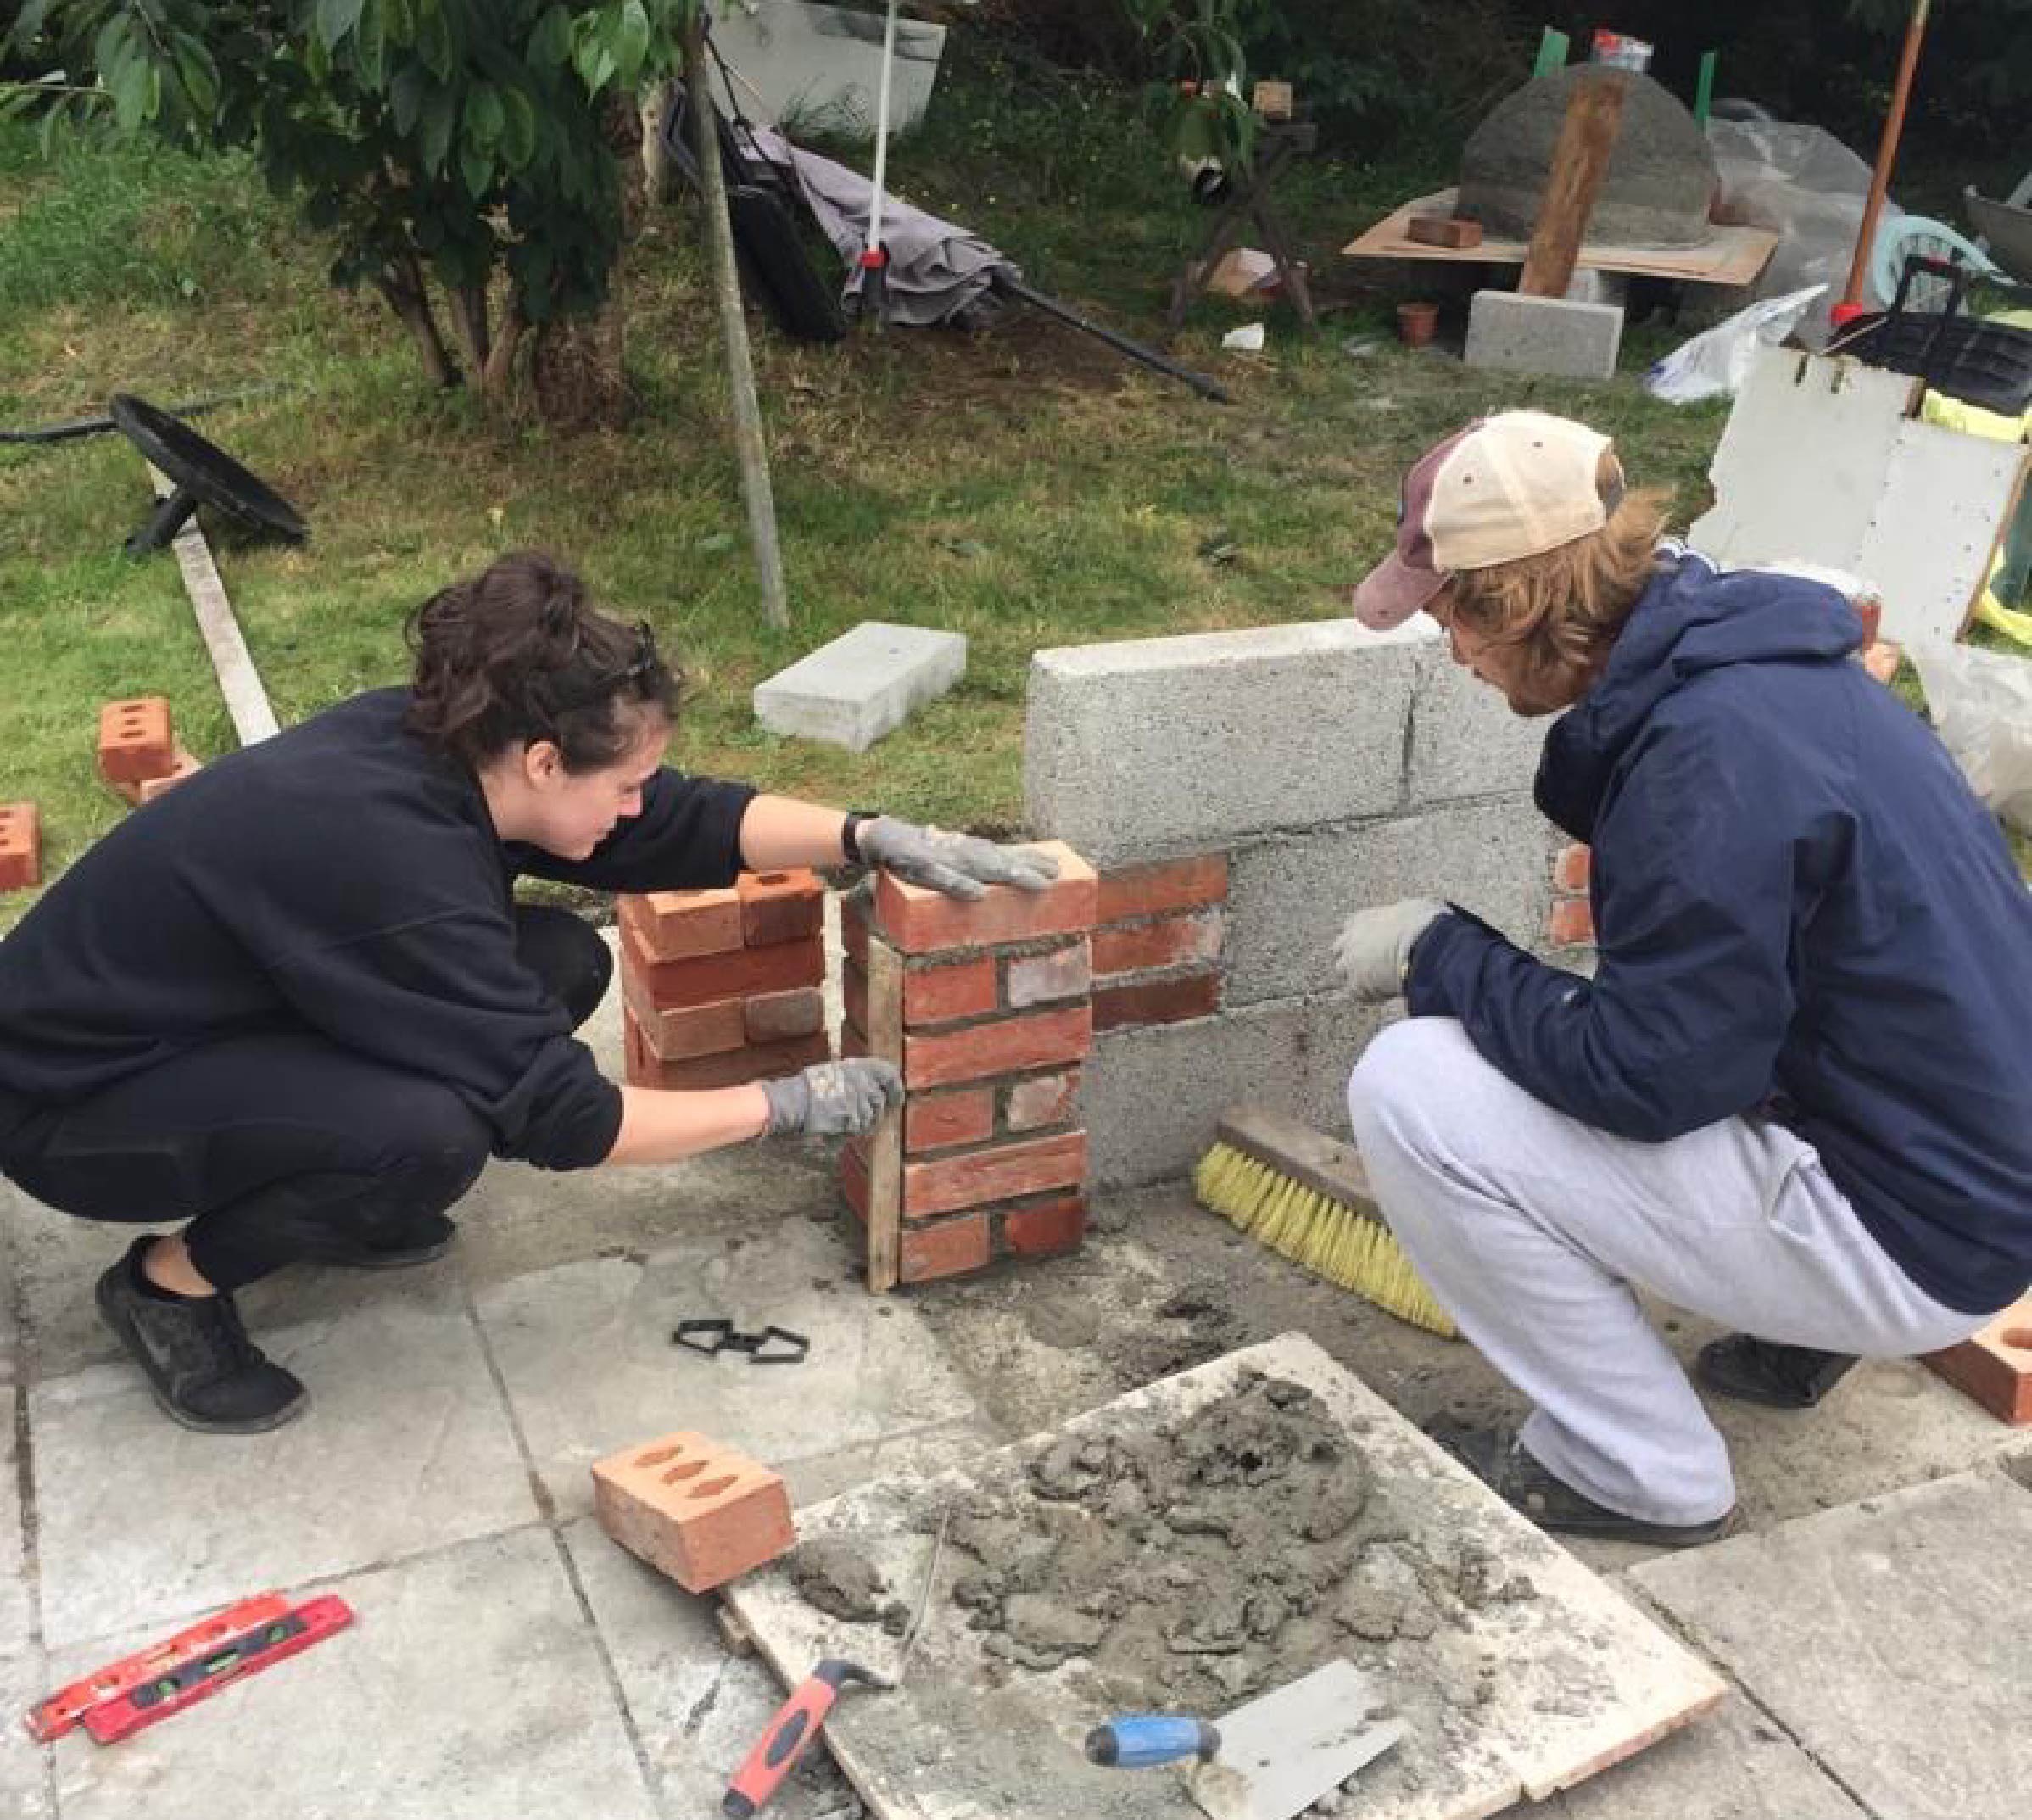
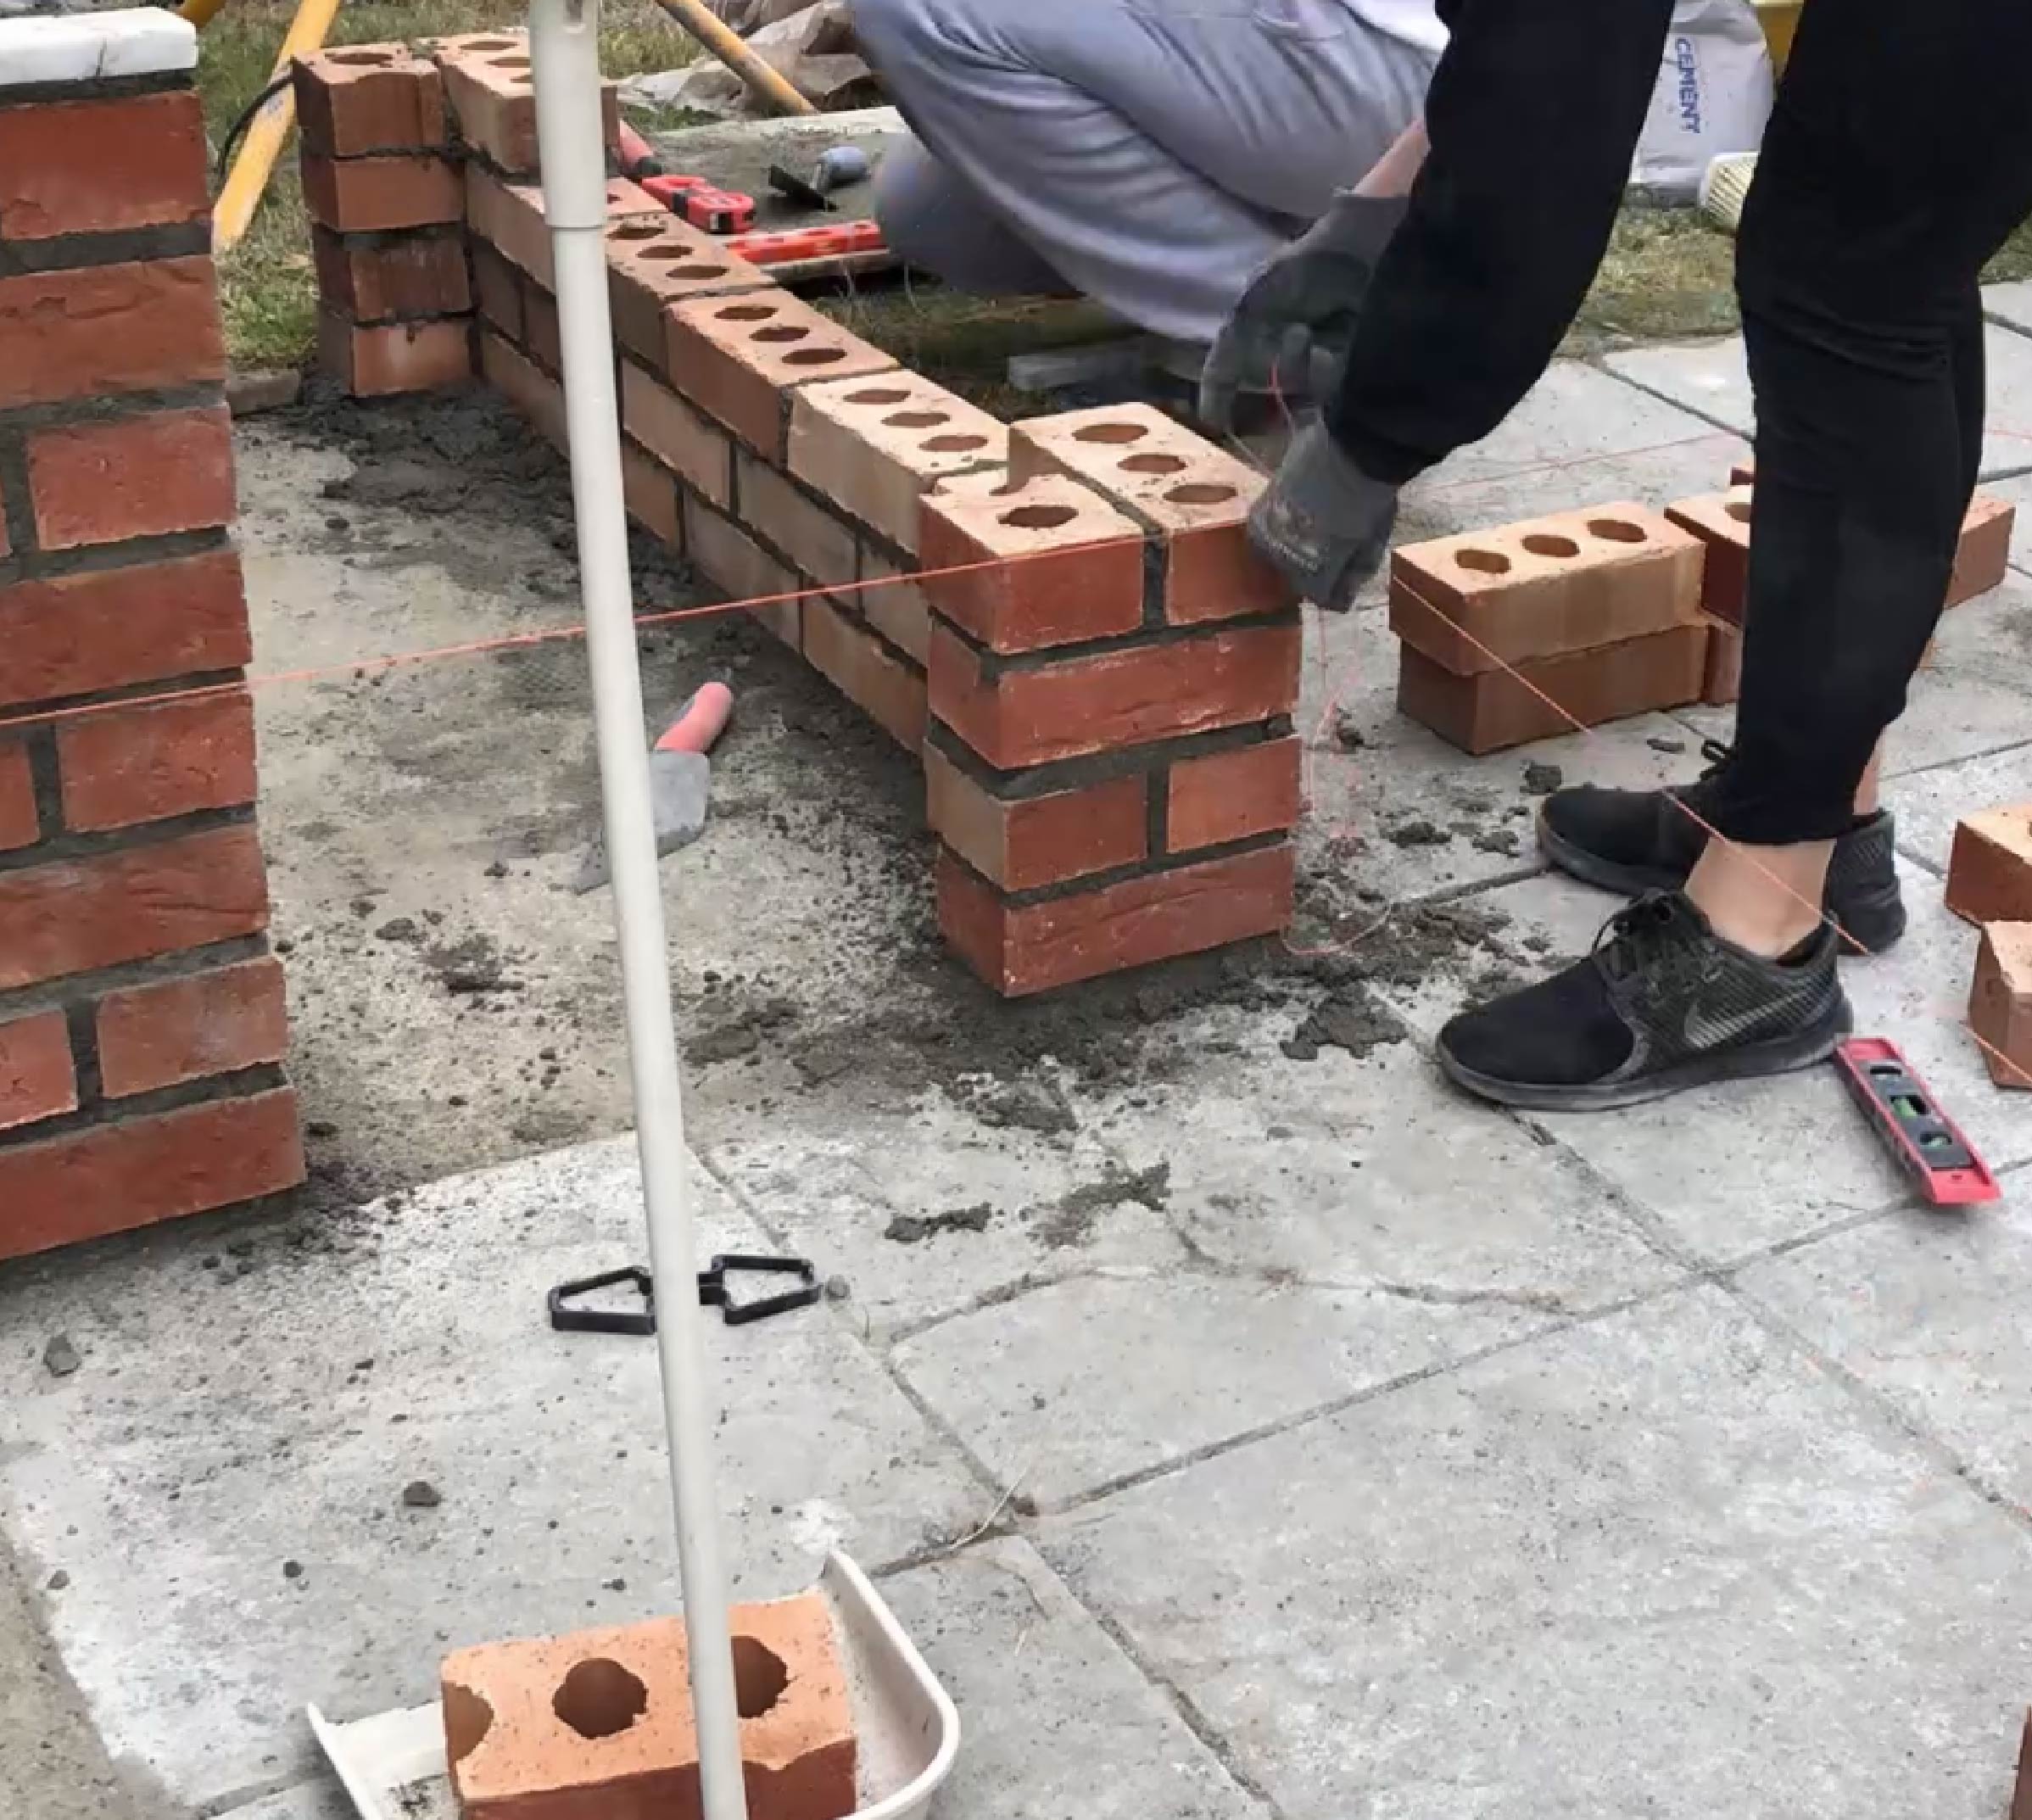
Once the foundation set work began on the walls of the units. Internal walls were made using cinder block and external were red brick to reduce costs.
Step 3 : Concrete Slabs
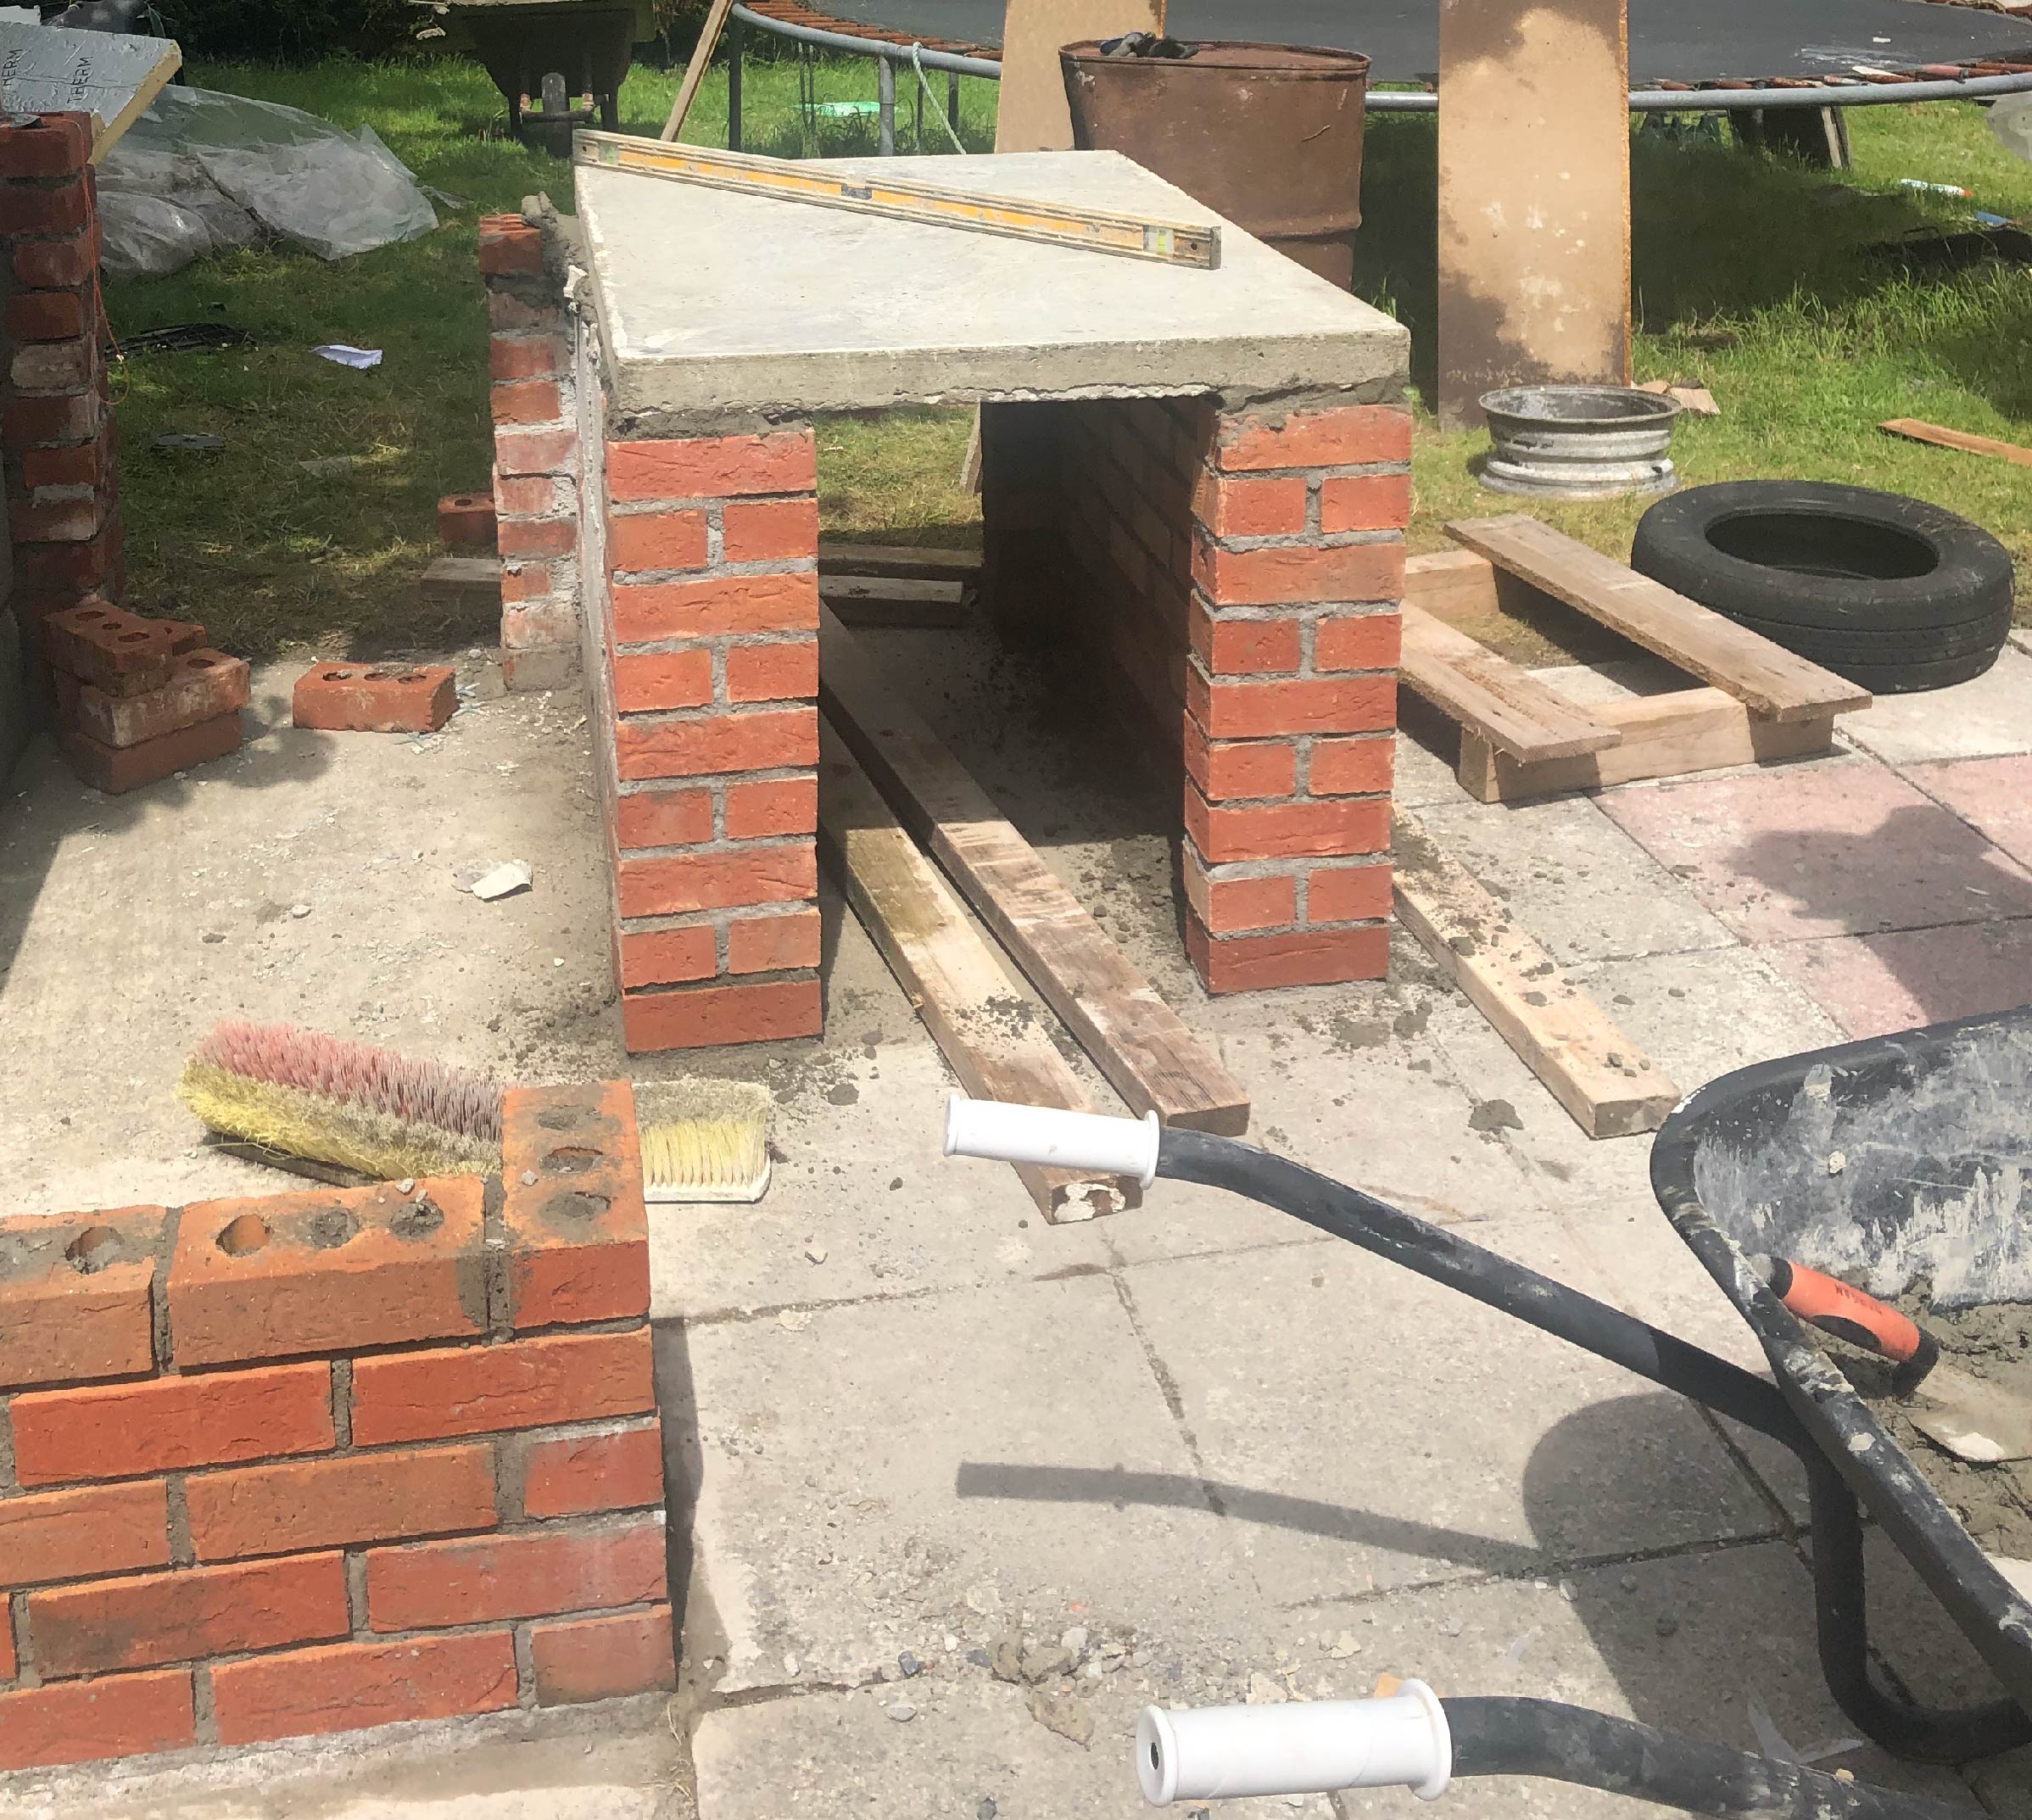
Molds were made using spare veneered chipboards to ensure a smooth finish on the counter tops. The steel reinforcement bars were added to the mold the concrete was poured. Once the counters were set the slabs were placed on top of the walls. Metal coping was added to the seam between slabs. The prep table top was sealed and treated in order to make it food safe.
Step 4 :Heat Sink
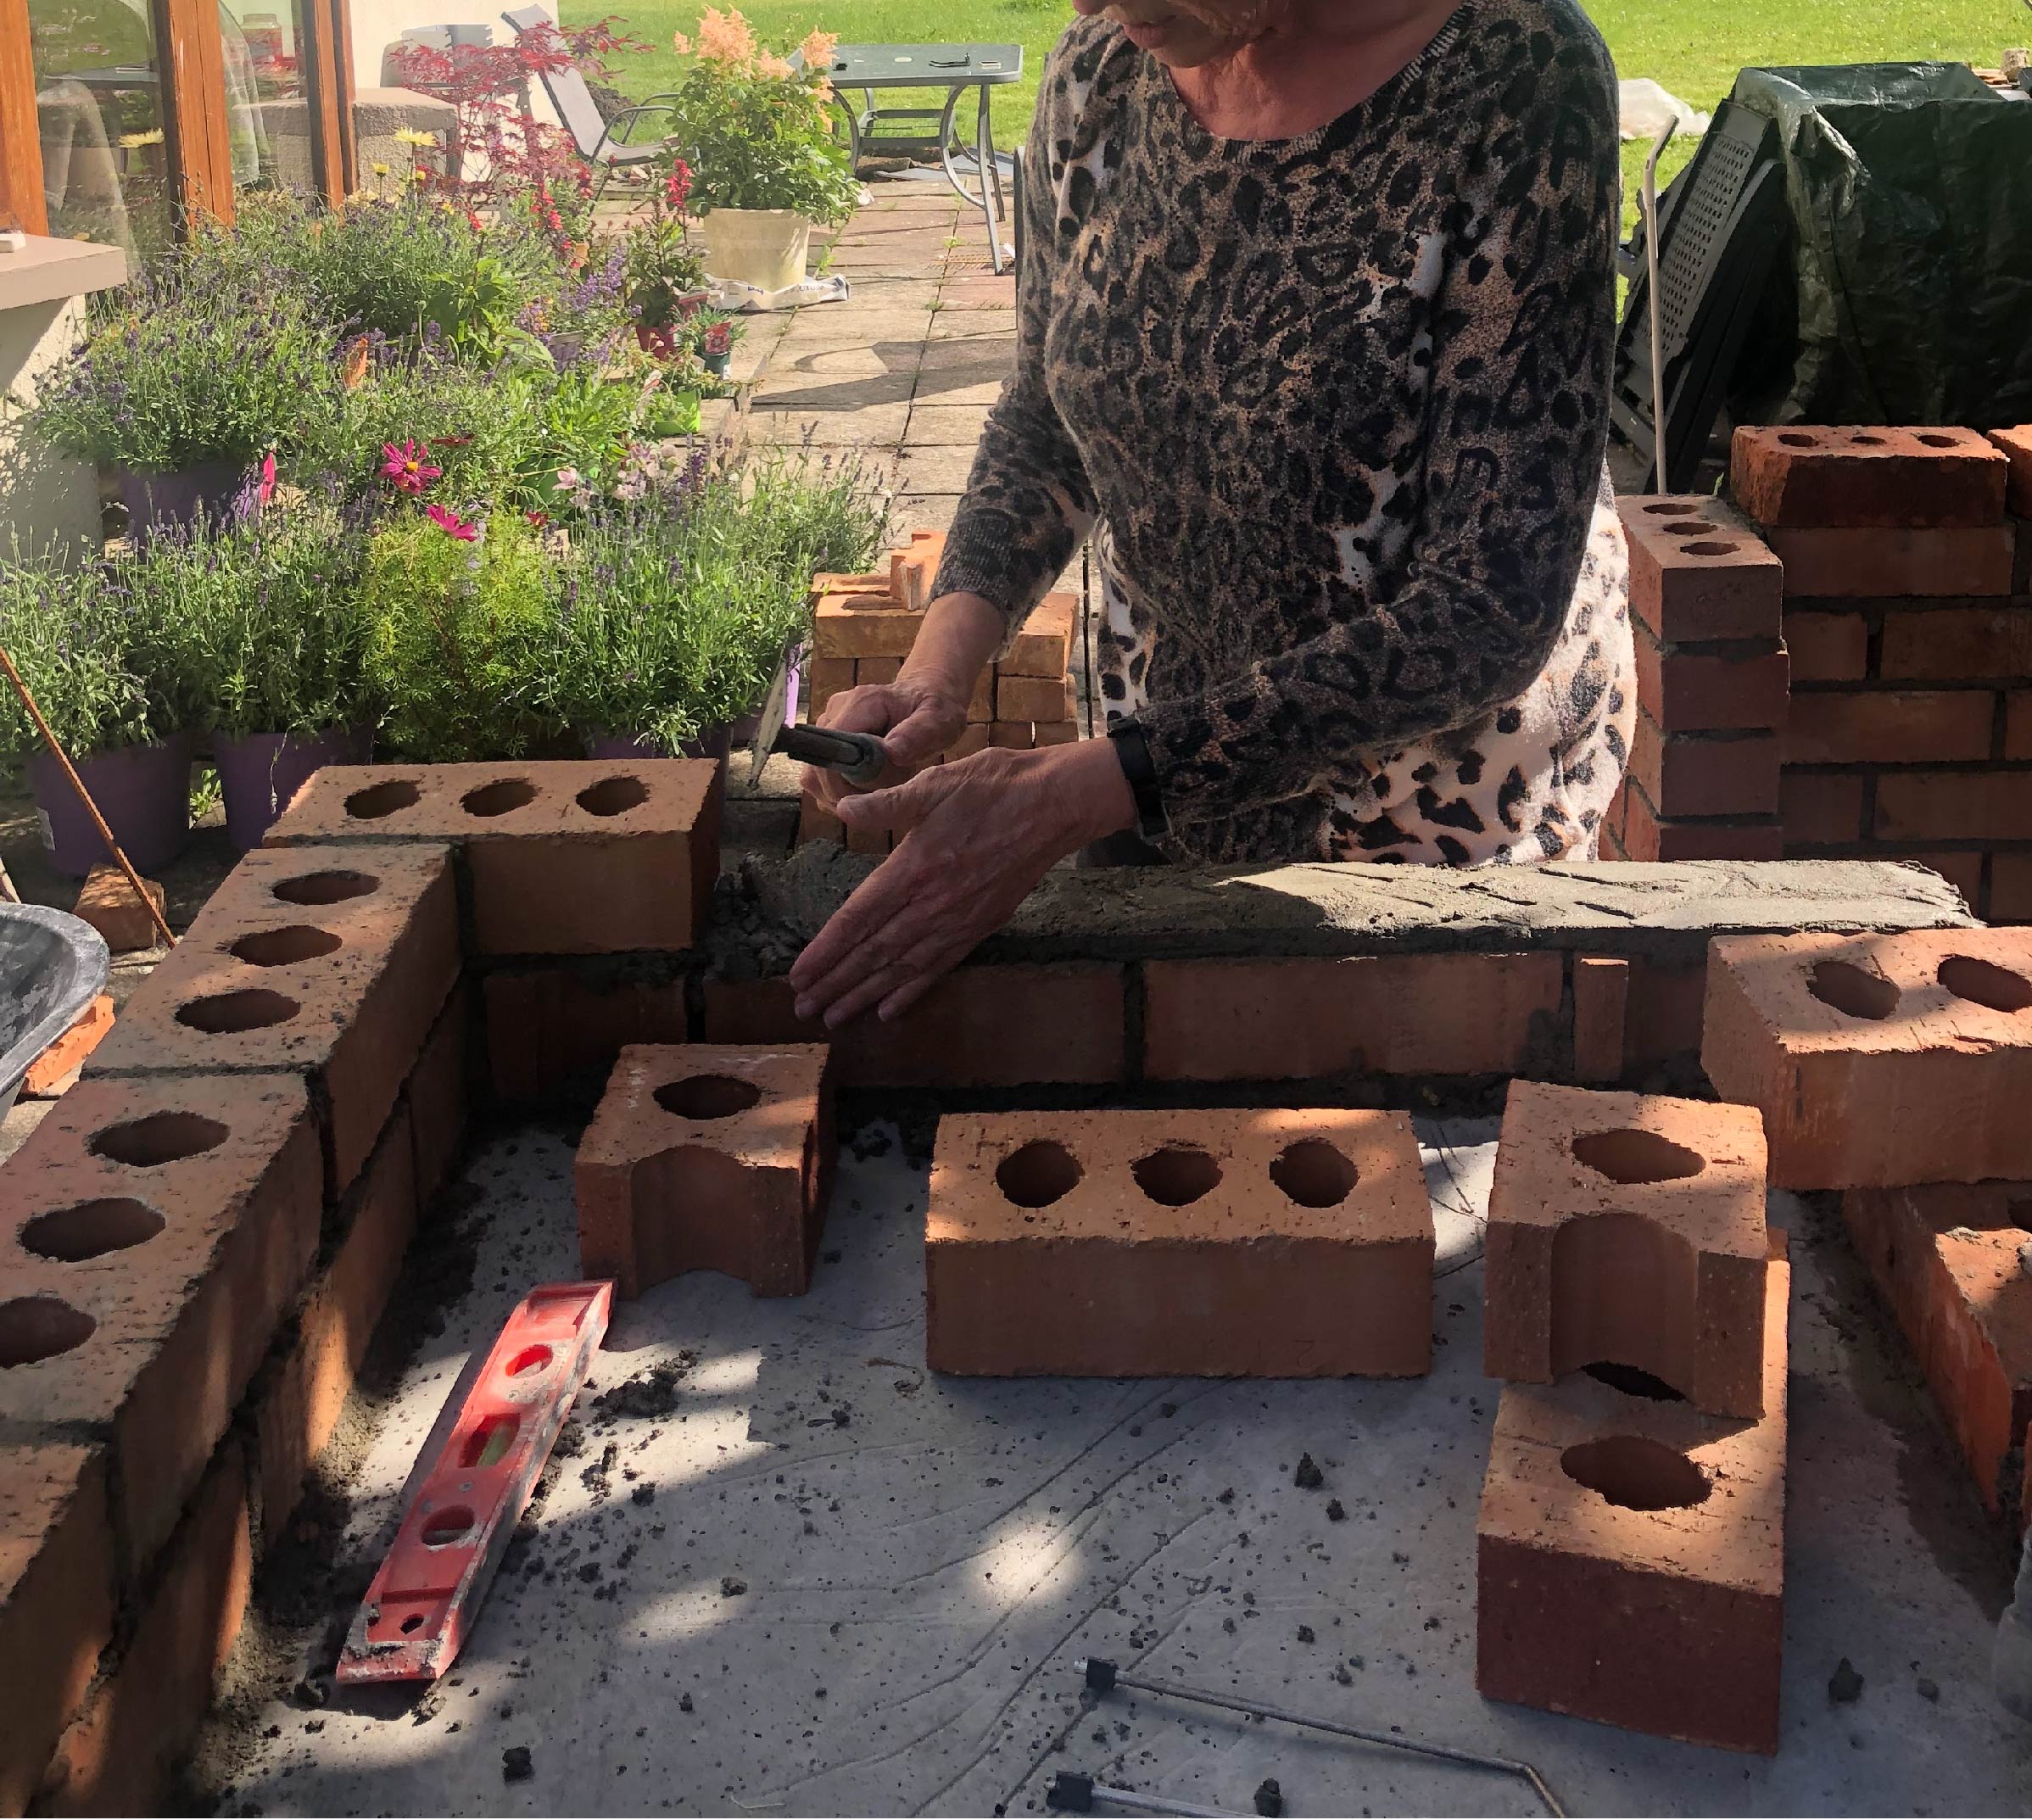
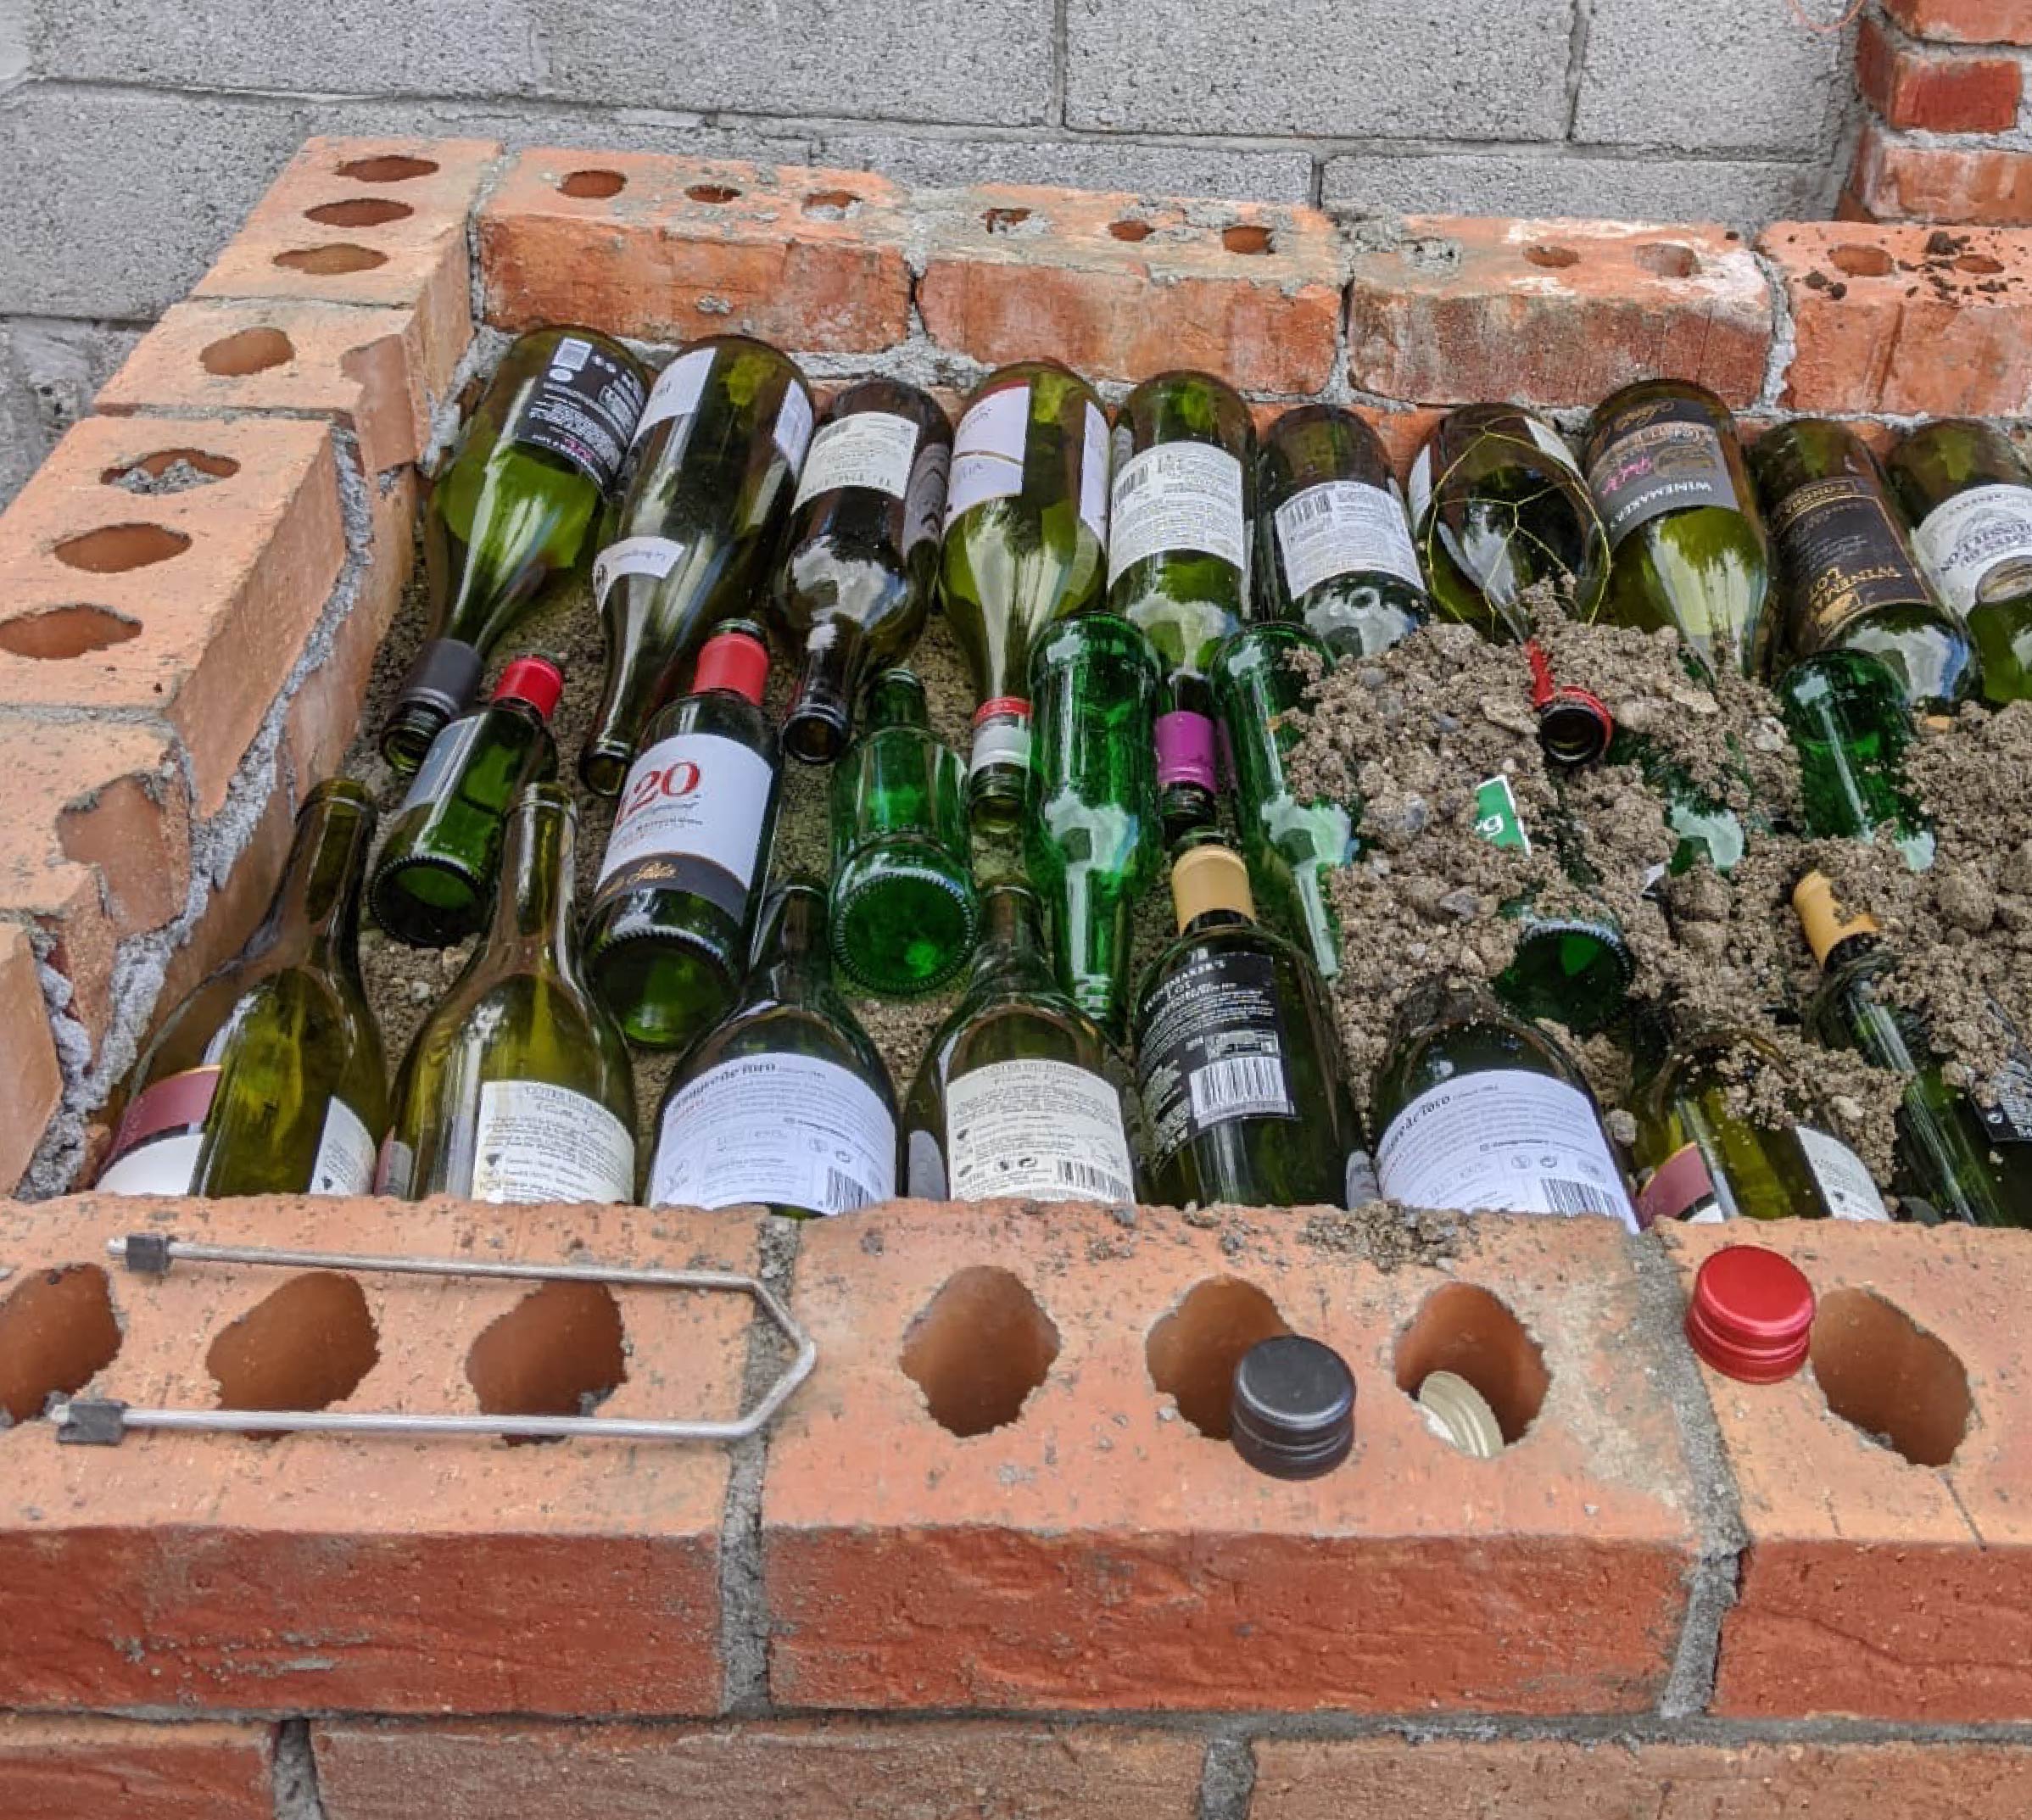
A 2-layer rim of bricks was laid on one of the slabs to form the walls of the heat sink. A mix of empty glass bottles and fire sand to form a heat resistant layer between the fire and the slab.
Step 5 : Oven Dome
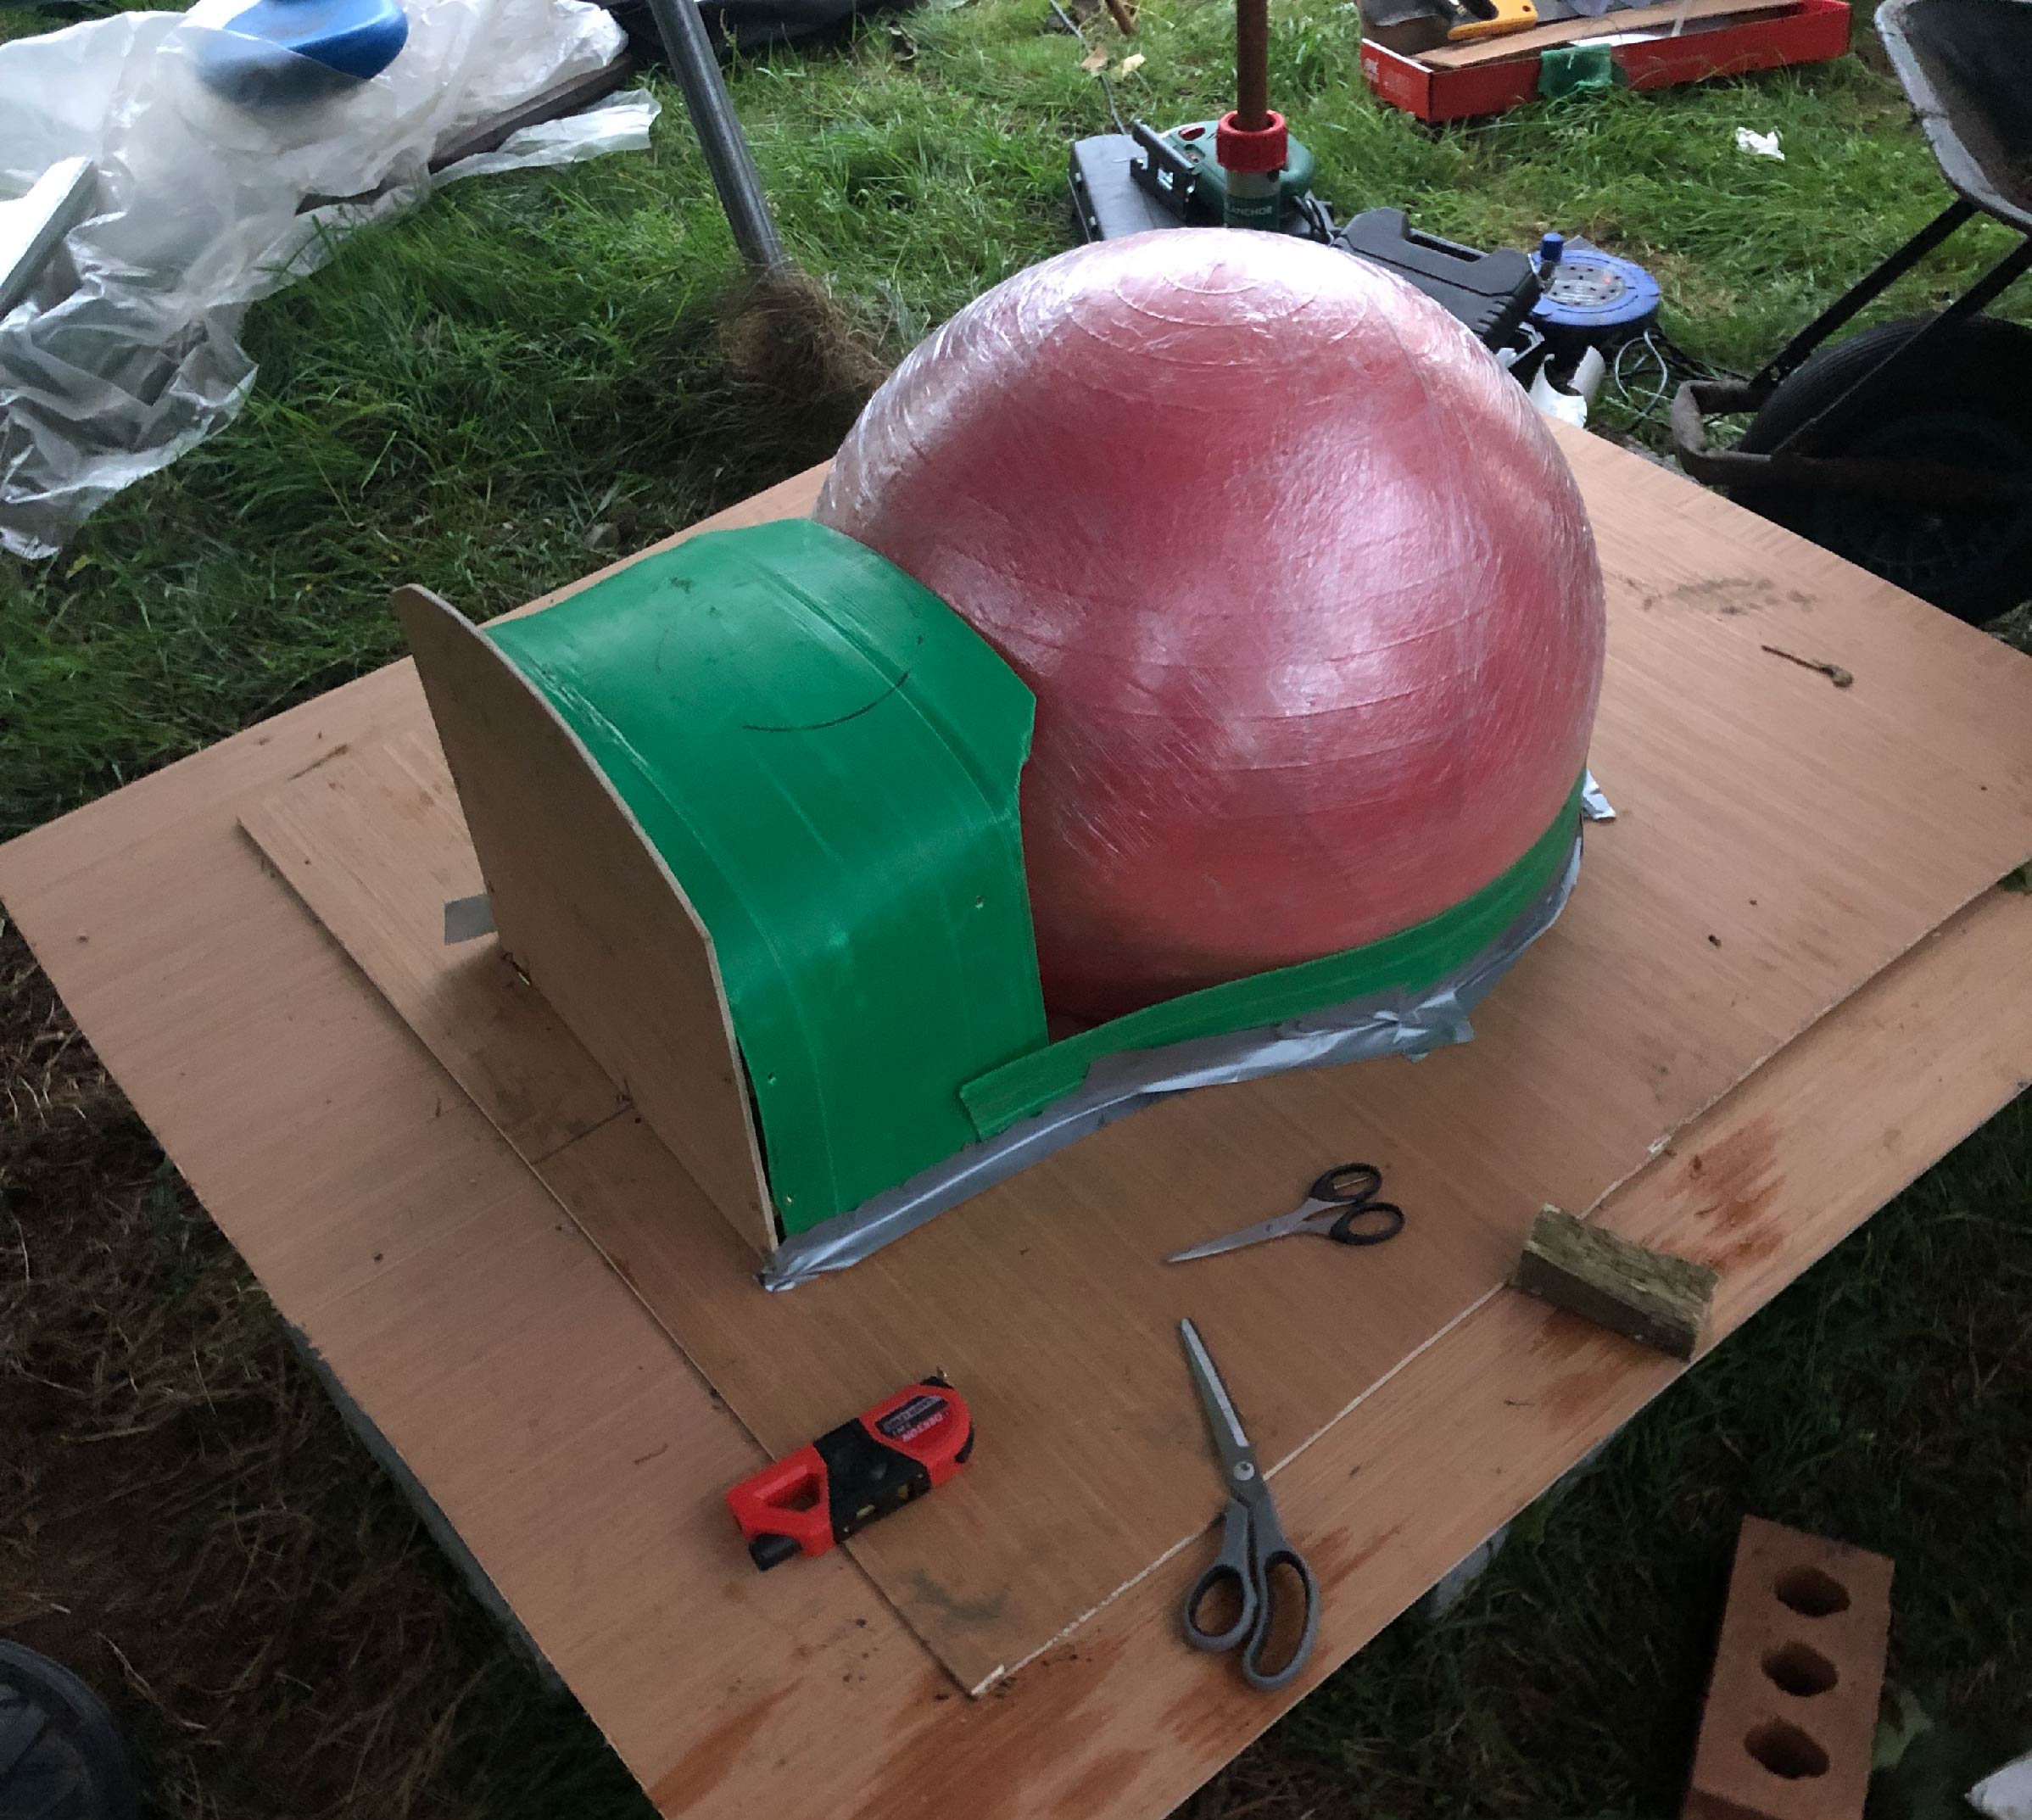
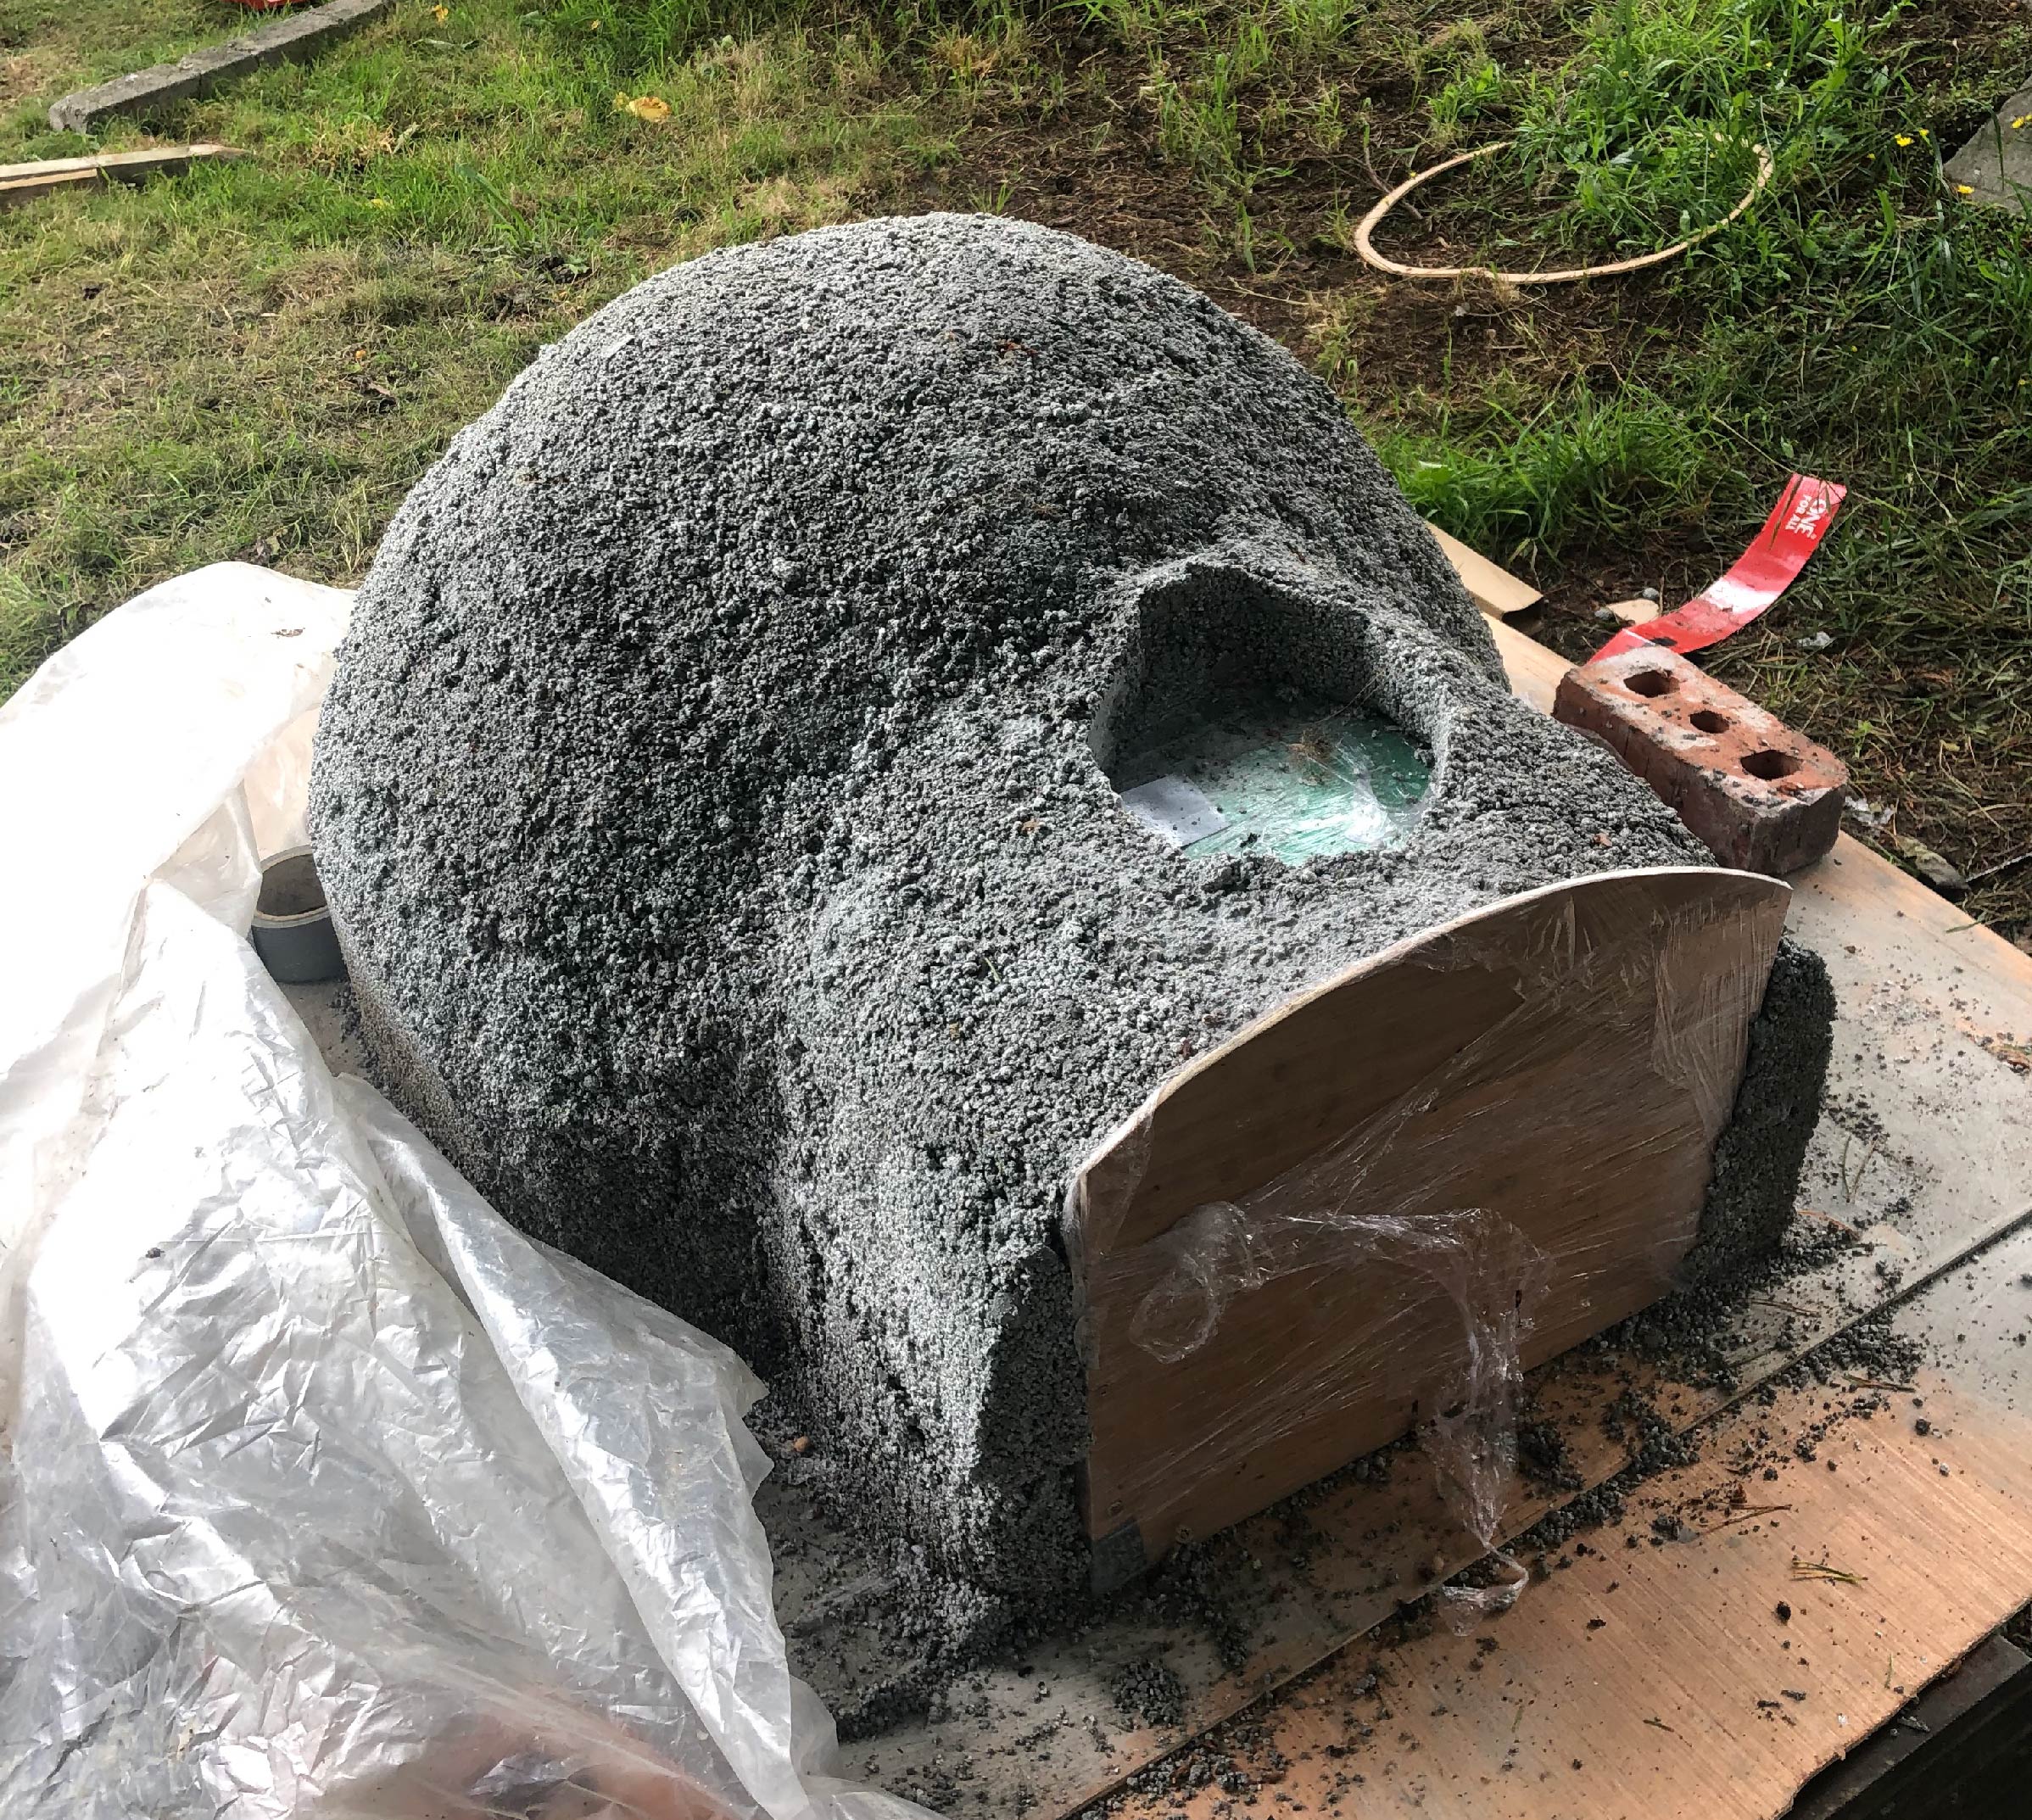
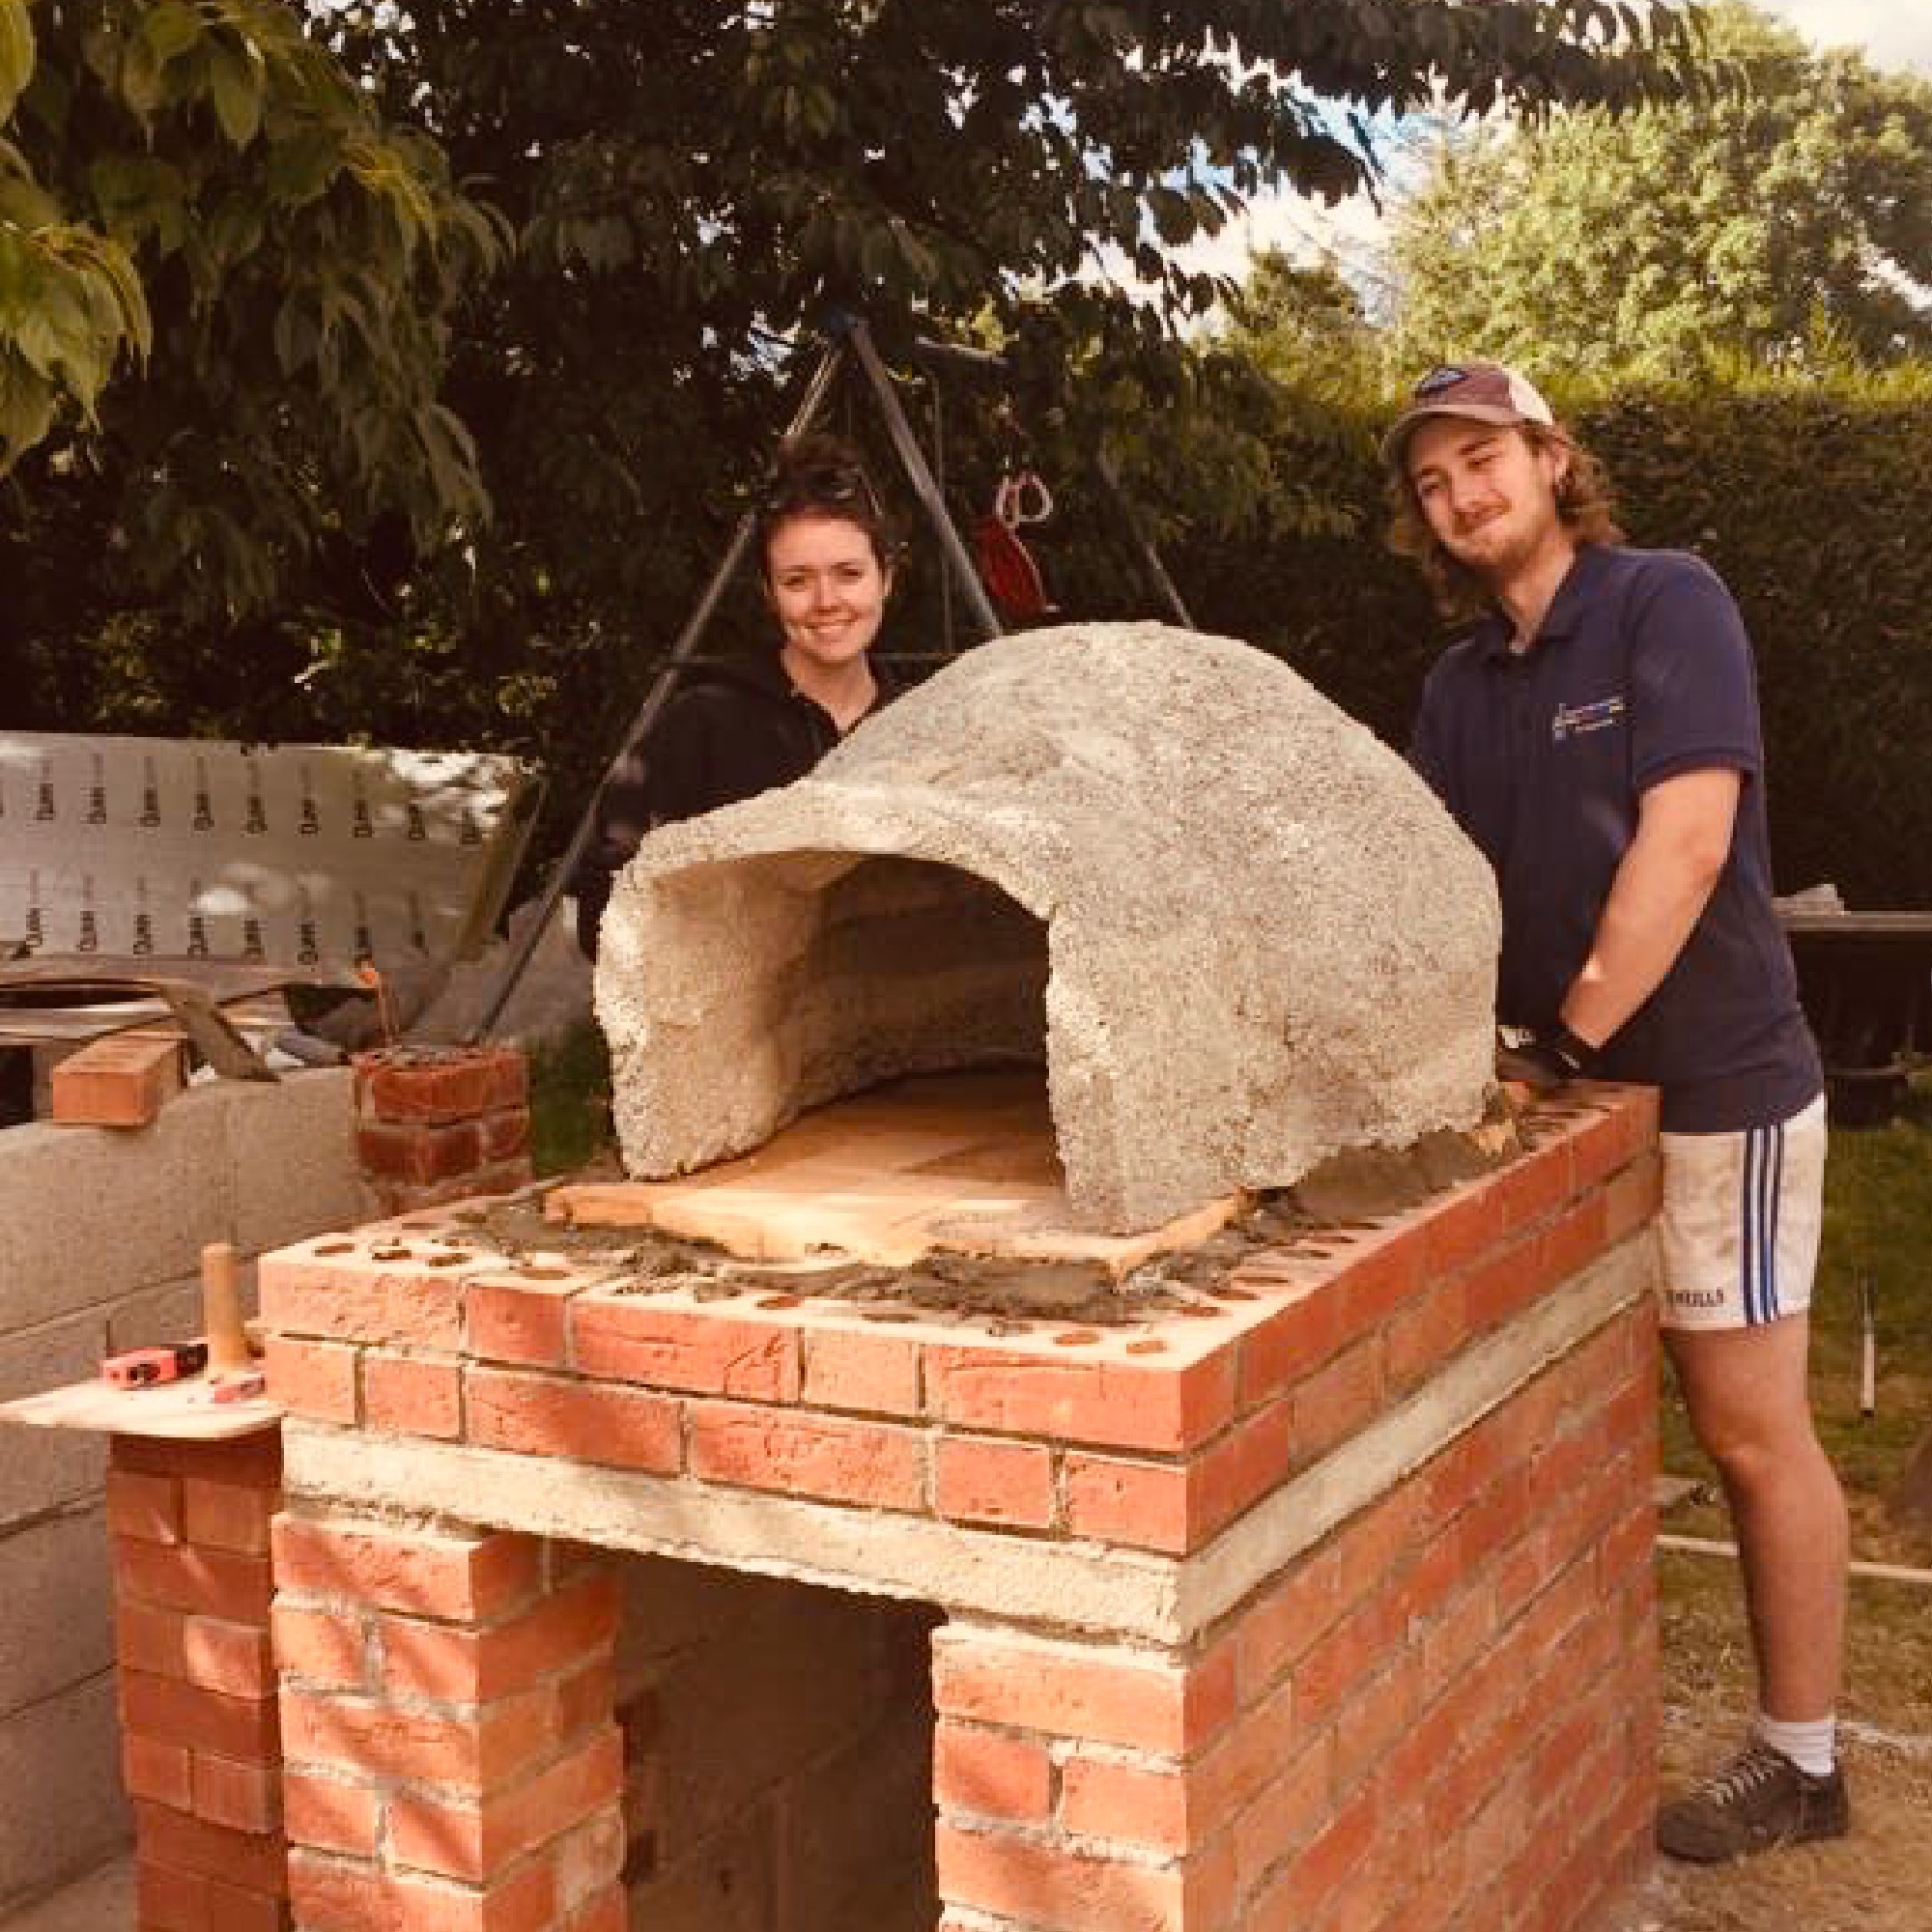
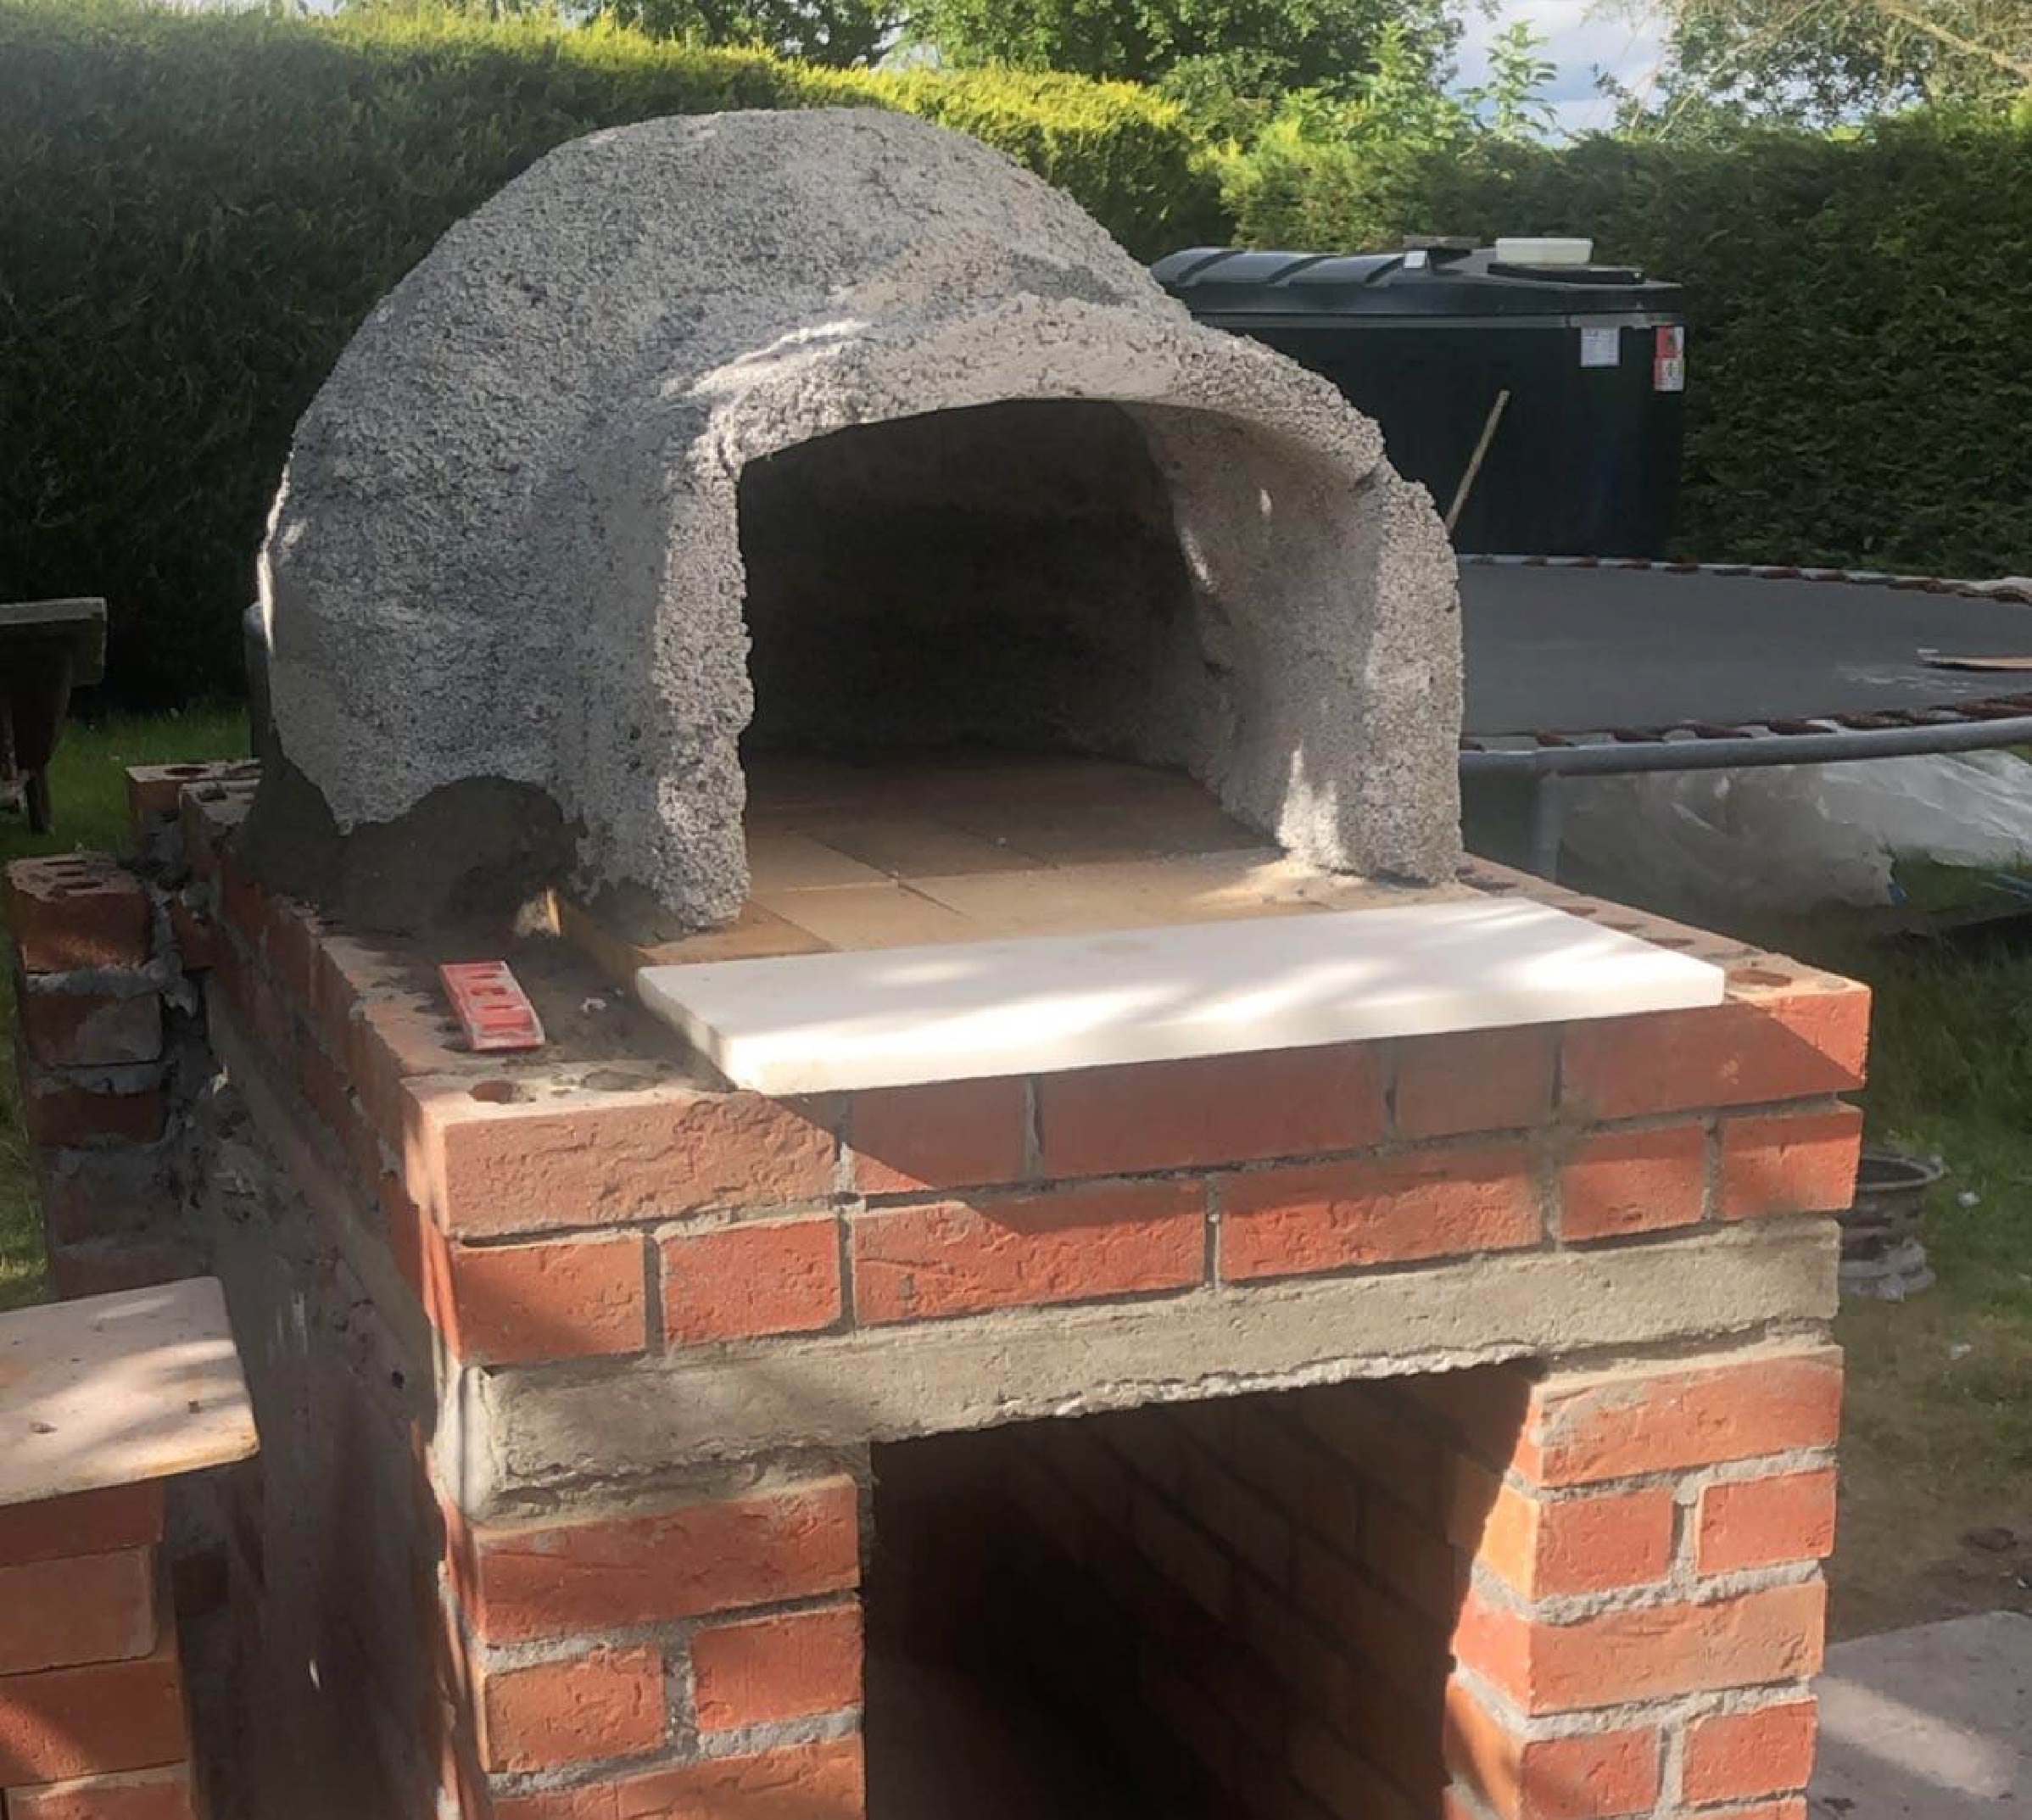
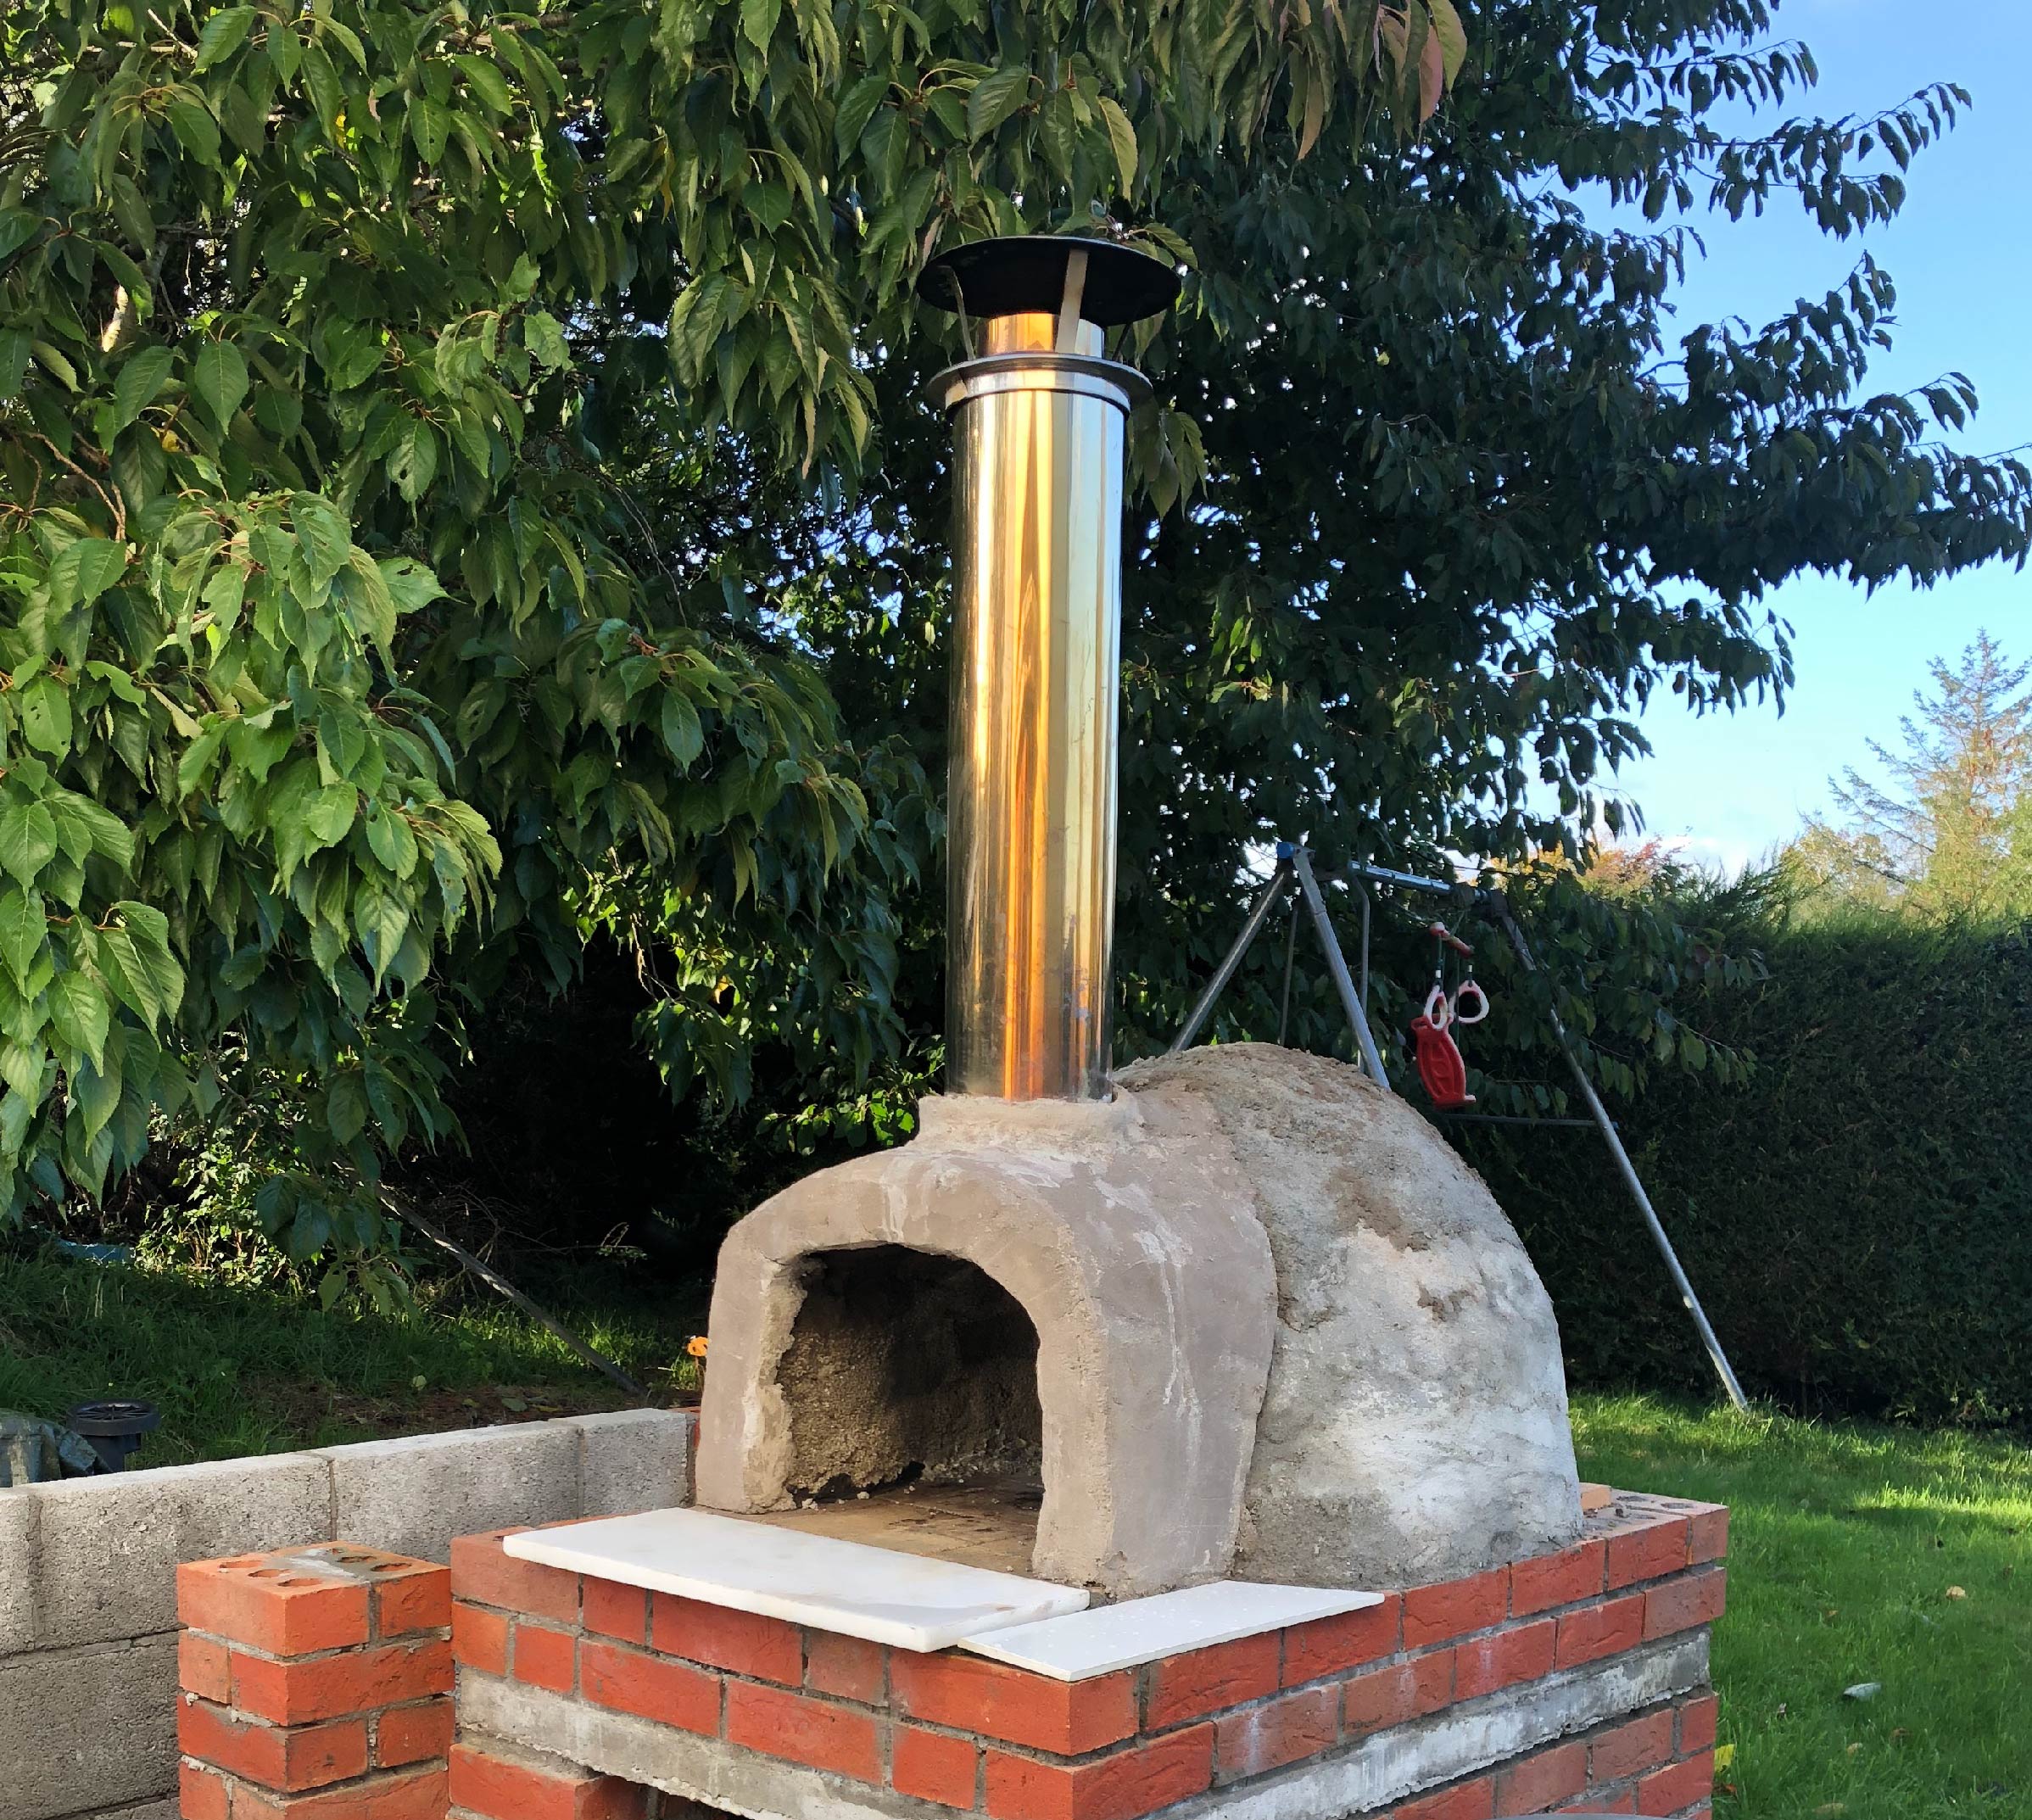
The main oven dome was building around a frame made of wooden panels and an old exercise ball to get the desired shape. A mix of cement and vermiculite was used to make the dome and the walls were built up around the frame. Once set the finished dome was transfer on top of the heat sink. The chimney was then added and bonded to the in place using fire cement. The outside of the oven was then whitewashed with lime.
Step 6 : Final Assembly
Finally the oven floor of firebricks was laid and a marble ledge added to the front. After a test burn it was finally time to make some pizzas!
